


Support our independent tech coverage. Chrome Unboxed is written by real people, for real people—not search algorithms. Join Chrome Unboxed Plus for just $2 a month to get an ad-free experience, access to our private Discord, and more. Learn more about membership here.
START FREE TRIAL (MONTHLY)START FREE TRIAL (ANNUAL)
We’ve talked a lot lately about Linux apps on Chrome OS and the plausibility that Chromebooks could eventually be able to run resource-hungry applications such as full-fledged video editors like Davinci Resolve. Now, we’re still a little ways out from that becoming a reality but if and when Crostini can leverage a dGPU or external graphics card, there won’t be much you can’t do on a Chromebook. Anyway, in our chats about video editors and my recent tutorial on installing Shotcut, we’ve seen a lot of comments about another graphics software called Blender and that’s the subject of today’s Command Line article.
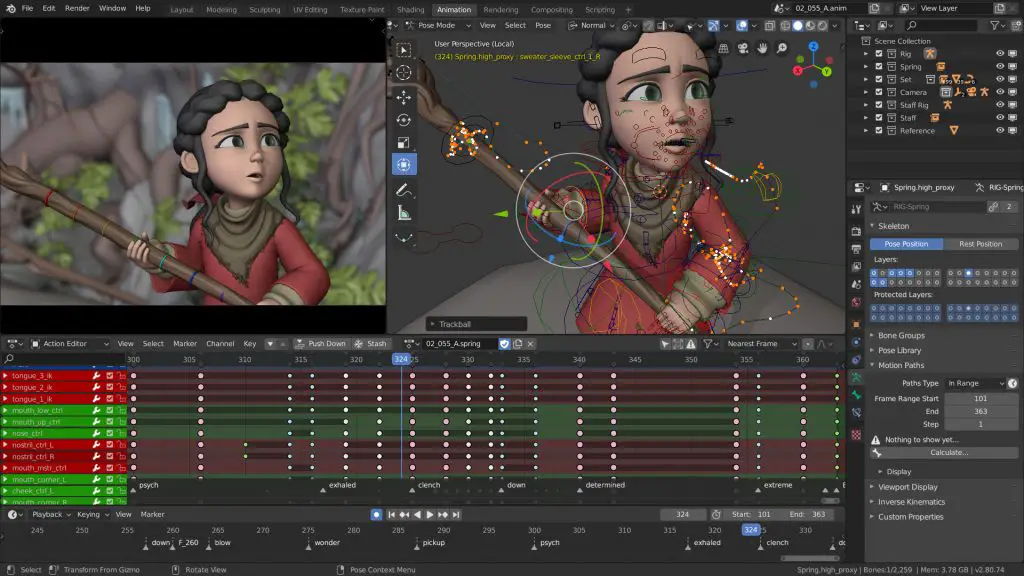
Blender is not a traditional video editor but instead, it is an open-source 3D modeling software that allows users to create robust and detailed 3D animations. Now, I know very little about creating 3D animation but I have been known to binge-watch a few dozen episodes of Bleach over a long weekend and I am a fan of well-drawn, mainstream Anime. So, when I saw some of the studios on Blender’s resume, let’s just say that I was quite impressed. One of the biggest names in the mix for you Anime fans is Khara Studios. The creator of the Evangelion series recently used Blender for some of the production of the upcoming EVANGELION:3.0+1.0 film that will release in June of this year. The production company plans to fully adopt Blender for all future products.
Game trailers are also among some of the big names that use this 3D software. The studio Goodbye Kansas has utilized Blender to create and assist the creation of game trailers for popular titles such as Overkill’s: The Walking Dead, Mass Effect: The Andromeda Initiative and the upcoming Biomutant from THQ Nordic. Needless to say, Blender is probably powerful enough for any user and it has another distinct advantage. IT’S FREE! Yes, you will probably have to pay for some lessons and tutorials if you’re new to 3D design and are looking to create a feature film or something. Still, a software this powerful that’s free to use is absolutely insane.
Thanks to the Crostini Project, you can install Blender on any Chromebook that supports Linux apps but there are some caveats. First, as with any type of video editing/creation software, performance may not be stellar. I’d guess you will need at least a U-series Core processor to get any type of mileage out of Blender. Second, there are multiple ways to install Blender and some are better than others. With the recent update to Chrome OS 80, the Linux container on Chrome OS is running Debian Buster (10) by default and you can download Blender directly from that repository if you just want to try out the software. The catch is that the version found in Debian is quite a bit older than the latest release from Blender. Still, it’s fully functional and simple to install if you just want to get your feet wet.
If you haven’t done so, you will need to get your Chromebook setup for Linux apps and make sure everything is up-to-date. You can find those steps in the Command Line article here. Next, we will install Blender using the command below. (Note: If you have used Linux apps prior to the release of Chrome OS 80, you will need to remove and reinstall Linux to upgrade to Buster. This isn’t necessary to install Blender but understand that your device is still running Debian 9.)
sudo apt install blenderYou should now see the Blender desktop icon in your app launcher. This is version 2.79b which is still very capable but I understand that serious users want the most up-to-date version and that’s exactly what we’re going to do next. Before we look at two examples of how to install newer versions of Blender, we will need to remove the one we just installed from the Debian repository. Run the following command to uninstall the application.
sudo apt remove blenderThere will be some additional files left that were installed during the process of installing Blender. To keep your file system clean, run the following command to remove them.
sudo apt autoremoveNow we’re ready to install a newer version of Blender. The first method we will use is installing the Flatpak of Blender. The version available in the Flathub store is 2.81 which isn’t the latest but it is only one version behind the most current which is 2.82. To install Blender, we will first need to install Flatpak and the Flathub repo. Do so by running the two following commands.
sudo apt install flatpak
sudo flatpak remote-add --if-not-exists flathub https://flathub.org/repo/flathub.flatpakrepo
Next, we will install Blender 2.81 using the install command from Flathub. You can download the actual Flatpak from Flathub and install it using the command flatpak install <appname> but this is quicker and takes fewer steps.
sudo flatpak install flathub org.blender.BlenderYou now have Blender 2.81 installed on your Chromebook and you can find the desktop icon in your launcher. You can also run the app from the command line using flatpak run org.blender.Blender. But what if I want the newest, freshest version of Blender? Well, I’m glad you asked. Version 2.82 of Blender added not only hundreds of bug fixes but UDIM and USD support, MantaFlow fluids and smoke simulation, AI denoising, Grease Pencil improvements, and much more! (Quoted from Blender.org. I don’t know what most of that stuff is but it sounds cool and USD is Pixar’s so it must be neat.)
Okay, installing the newest version of Blender isn’t as straight forward as downloading a Flatpak or .deb file but with a few commands, we’ll be up and running in no time. First, you will need to head over to Blender.org and download the Linux package. Note, this is not the Snap version. That’s an article for another day. The file should look like this: blender-2.82-linux64.tar.xz unless there has been an update since the publishing of this article. Next, make sure the file is in your Linux folder. You can do that by simply opening your files app and dragging it from Downloads to Linux files.
Shop The Best Chromebooks of 2019 at Chrome Shop
We now have to unpack the compressed file. Debian 10 on Chrome OS doesn’t have the necessary tools to unpack a tar.xz file preinstalled but that’s okay, we can install them and it only takes a minute. Install the utility with the following command.
sudo apt install xz-utilsNow we’re ready to start unpacking. Execute the following command in the terminal to unpack the archive. At this point, a new folder will be created with the same name as the tar.xz file we downloaded. This folder contains everything we need to run Blender from the command line. Here’s the command to unpack Blender.
sudo tar -xf blender-2.82-linux64.tar.xzAt this point, you will have a new folder inside of your Linux folder with the same name as the above tar.xz file. It should look like this: blender-2.82-linux64. You can rename the folder anything you like or you can leave it as it is. Now you can launch Blender from the command line by moving to the above folder. Do this with the following command in the terminal. If you changed your folder name, replace it after cd.
cd blender-2.82-linux64From there, type ./blender, hit enter and the applications will launch. Before you ask, there is not a desktop icon in your launcher. The Blender files do contain a .desktop file but because it was unpacked into its own folder, it doesn’t place it into the launcher like .deb or Flatpak packages. In my next tutorial, I’ll detail how to move the .desktop file and make sure everything is in place to execute your program. This method may seem a bit hacky but even if you’re new to the terminal, it’s pretty fail-safe and a sure-fire way to make sure you have the latest version of Blender. Stay tuned for more Command Line. There’s a lot more to come.
SUBSCRIBE TO UPSTREAM
Get Chrome Unboxed delivered straight to your inbox
Upstream is our flagship, curated newsletter with the top stories, most click-worthy deals, giveaways, and trending articles from Chrome Unboxed sent directly to your inbox a few times a week. Join 31,000+ subscribers.