We’ve spent a lot of time talking Crostini and Linux apps as of late but I realized that the average Chromebook user might be a little intimidated when we start talking about terminals, command lines and other Linux-y lingo. That prompted me to take a step back and try to consider what a first-time user of Linux on Chrome OS would need to know to feel confident using the relatively new feature on their Chromebook. I quickly realized that it would be a grand undertaking to document all there is to know about Linux on Chrome OS in a single sitting. So, we thought it would be a great idea to create a post specifically about getting started with Linux on Chrome OS and all the things you can do with this very powerful feature.
What is Crostini?
The Crostini Project gained its name from its predecessor “Crouton” which was the hacky way to run Linux in parallel to Chrome OS. Crouton was an unofficial method that required putting your device in an unsecured state and therefore left users to their own devices should something break. Crostini, by definition, is fancy crouton that is generally served with some sort of topping. The adoption of Crostini by Chromium developers is a play on words but the Crostini Project is exactly what the name implies. It is a polished method of using Linux apps on Chrome OS that can be used by the masses without fear of leaving your device in a state of vulnerability.
Crostini uses container technology combined VMs (virtual machines) to run Linux apps on Chrome OS. There are a lot of different techs that go into making Crostini work and for those of you who want to go down that rabbit hole, to can do so by heading to the Chromium OS Doc here. As we continue with this series, we’ll discuss the finer details of what and how but for now, we’re starting with the basics.
Why Linux apps matter
Until Android Apps came along, physically installing an application on a Chromebook simply wasn’t a thing. Everything is web-based and that’s a small part of what makes Chrome OS lightweight, fast and secure. While Android brings a lot to the table, mobile apps have to be optimized for desktop and a lot of developers just aren’t ready to bridge that gap. Fortunately, Chrome OS is built on the Linux kernel which means running executable Linux apps on a Chromebook is quite doable and thanks to Crostini, it’s now part of the operating system out of the box. For users who have struggled to leave Windows or Mac, Crostini opens the door to find alternative Linux applications to make the switch less painful.
Unfortunately for Chrome OS users who aren’t familiar with Linux, hopping on Google and trying to find information on finding and installing applications could easily result in a nervous breakdown. Linux isn’t a single operating system but instead, an entire catalog of OSes that are built on top of the same Linux kernel as Chrome OS. Each one has its own unique features and the methods for installing applications vary greatly between varying distros or distributions. That makes it impossible to point to one particular location to find, download and install applications. We’ll delve further into the different types of apps and ways to install them later. For now, we are going to stick with simple commands that will install some of the more common applications users will be looking for when coming from Windows or Mac.
First, we will need to enable Linux apps on your Chrome device. If you’re unsure whether or not your Chromebook supports Linux apps, it only takes a moment to find out. The easy way is to simply head to your Chrome OS settings and after making sure Chrome OS is up-to-date, look for Linux (Beta) on the left-hand side of the settings menu. If it isn’t there, your device probably doesn’t support it or you’re on a managed Chromebook and Linux isn’t enabled by the Admin. If it is there, it should look like this:

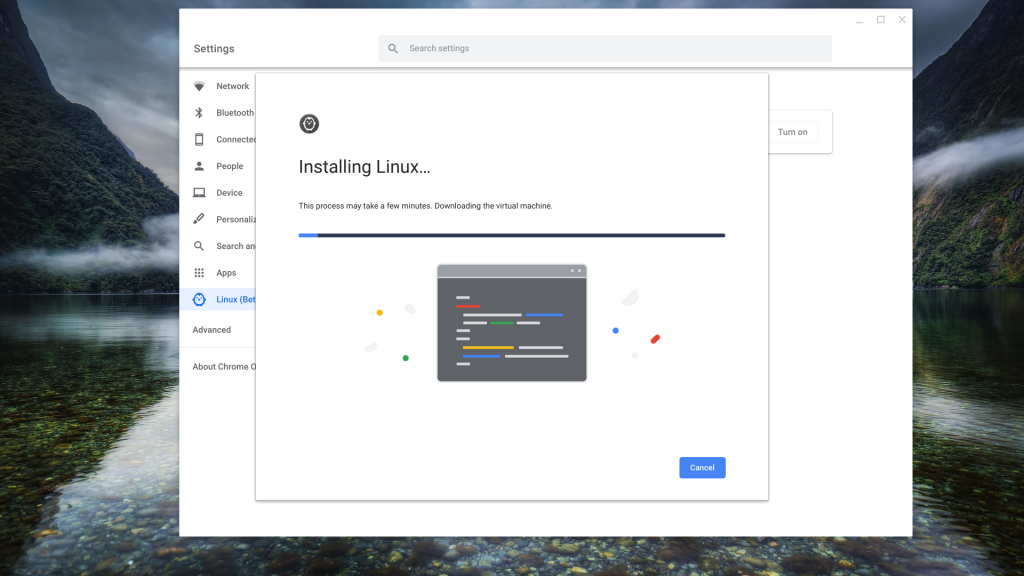
You can find more information on supported devices here. If your Chromebook is supported, just click the Linux (Beta) tab on the left side then click “Turn On” in the Linux menu. This will begin the Linux installation process. Click install on the next screen and now we wait. The process will take a minute or two depending on your device.


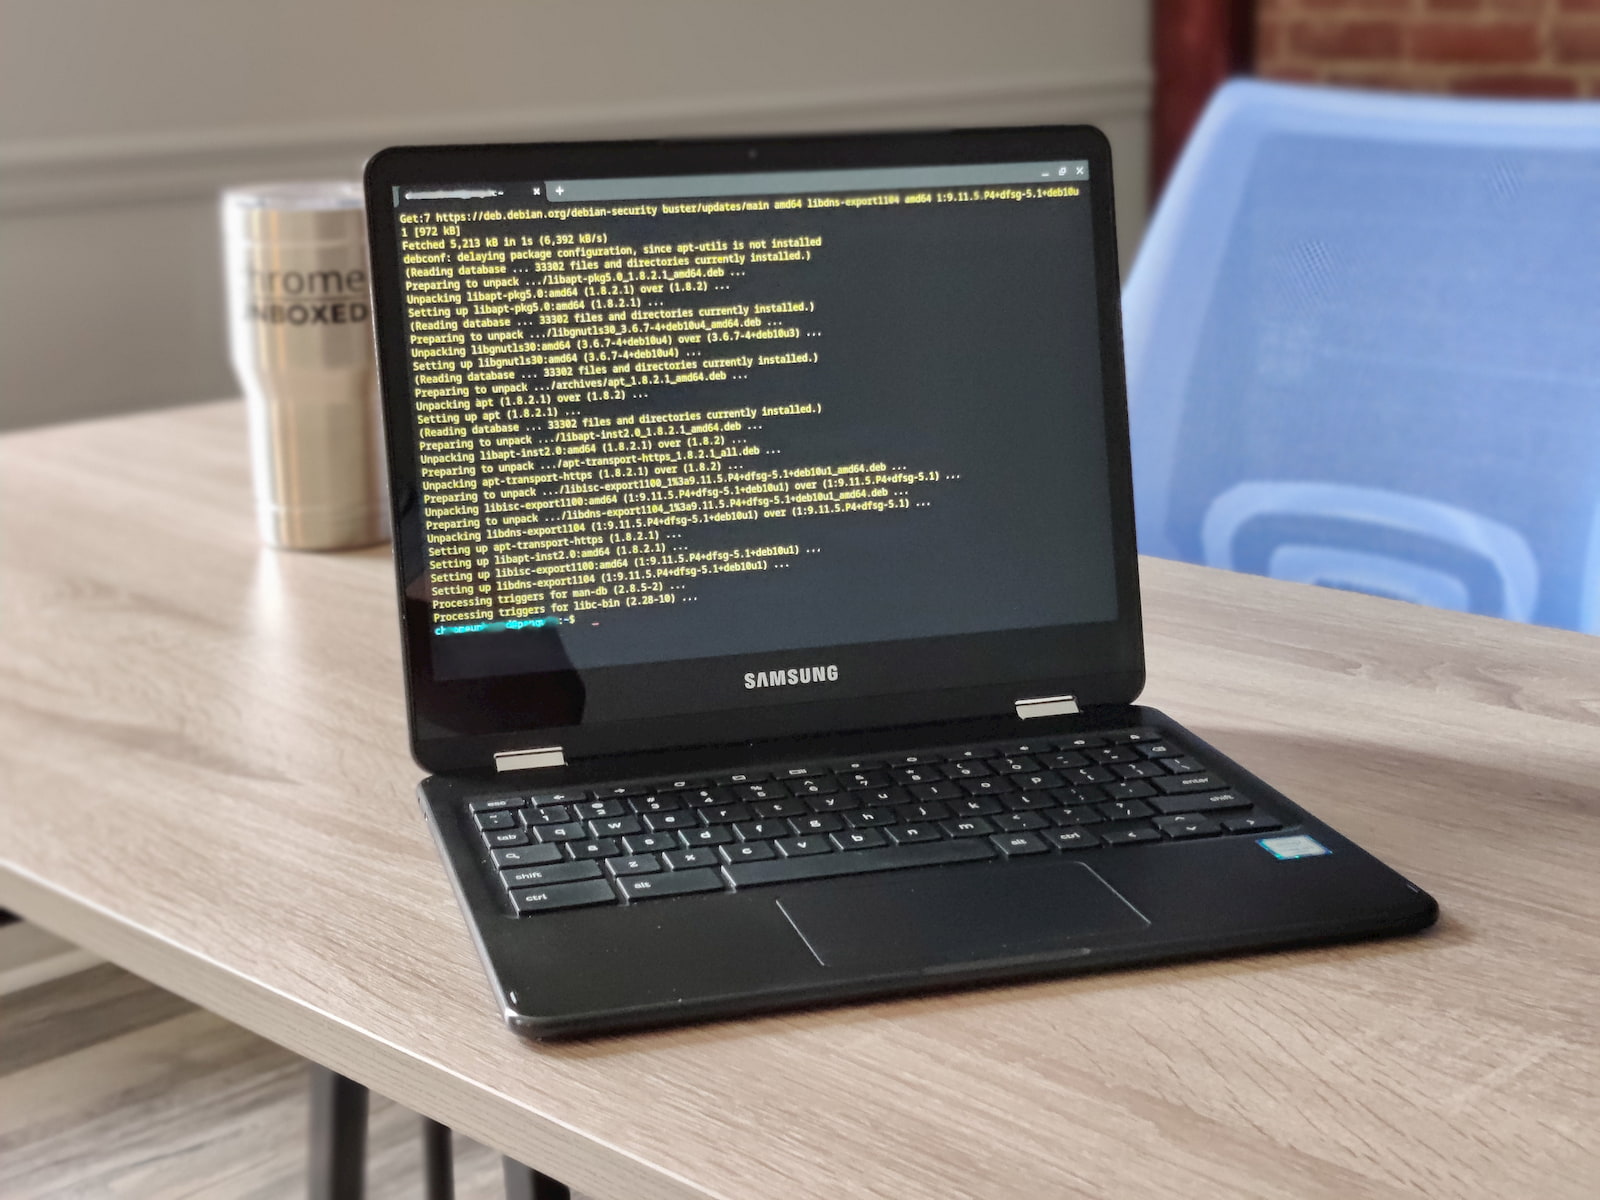
Once the installation is complete, you’ll be greeted by a new screen that may look like nothing you’ve ever seen before on Chrome OS. Don’t panic. The eerily vacant black screen you’re now viewing is what many users know as “the terminal.” This interface can be found in various forms on Linux, Windows, macOS and even Chrome OS in the form of “crosh” screen. If you aren’t familiar with crosh, click Ctrl+Alt+T and you’ll see what I’m talking about. It is just a browser-based version of a terminal. Terminals are also referred to as CLI or Command Line Interface. You may also notice that the username on the command line is the same as your Chrome OS login with @penguin added to the end. You can actually change that with a command and in the future, you will be able to set a custom name when you enable Linux for the first time. Now that Linux is enabled, the Terminal will show up as an app in your Chromebook’s launcher.

To dumb it down, the terminal is where you type commands. The command is the input and what happens after you hit enter is the output. You can install apps, modify files, create directories and much, much more but for our purposes, we will focus on the installation of applications. But first, there’s a little bit of housekeeping to be done. First, there is a small hiccup in Crostini that requires a small update. At the time of this article being published, some of the “keys” for one of the repositories used by Crostini had expired. By default, updates from “unsigned” repositories are disabled. It won’t stop you from using Linux apps but it will restrict access to any files in that particular repository. To fix the error, we need to update and refresh the keys. We do this by adding the following code to the terminal. This is no longer needed.
sudo apt-key adv --refresh-keys --keyserver keyserver.ubuntu.comTo add the command to the terminal, simply highlight the above code and using a two-finger click, select copy. Now, anywhere in the black area of the terminal, click your touchpad with two fingers to paste the command. Hit enter and wait for the keys to update. While we’re here, I’ll point out this little tidbit. You will notice a lot of the commands used in the terminal begin with “sudo” then the actual command. “Sudo” is short for superuser do. Without getting too far off into the weeds, “sudo” gives us the security privileges to execute certain commands in the terminal.
Ok, now our keys are fresh and ready to go. Now, we’re going to make sure all of our packages (software bundles, dependencies, etc) are up-to-date and installed. You can do these commands separately but it’s one less step to run them together as one line. The first command will check for any package updates and the second will upgrade said packages. Just copy and paste using the same method from above.
sudo apt update && sudo apt upgradeOnce the upgrades are ready, you will be prompted to continue the installation process by selecting “Y” and hitting enter. If you want to bypass this step in the future, you can do so by appending -y to the end of your command and it will trigger the installation automatically. Your code should look like this:
sudo apt update && sudo apt upgrade -yThis process shouldn’t take more than a few seconds and when you’re done, you are now ready to install your first Linux application on your Chromebook. We’ll start with one of the most common applications users turn to when looking for a suitable replacement for Microsoft products. Libre Office is a capable, open-source and free office suite that includes word processing, spreadsheets, databases and most everything else you’ll find in MS Office. While Google offers a suite of office products that work entirely online and across platforms, there are many users who still want or need applications such as Libre Office or other installable alternatives. Thanks to Linux, you can now have them on your Chromebook. To install Libre Office, drop the following command in your terminal.
sudo apt install libreoffice -y
Libre Office includes a lot of software so the installation process will take a bit. You can see the progress at the bottom of the terminal in case you want to get up and grab a cup of coffee. You have time. Once the installation is complete, Libre Office’s multiple applications will be available in your launcher. You can search for them by name or scroll to the Linux folder in the launcher to see them. Alternatively, you can launch Libre Office by typing libreoffice in the terminal and hitting enter.
Alright, now you’ve got your feet wet and installed your first Linux application. Next, we’ll install a photo editor. Dark Table is a good freeware photo editor that offers a good range of features that are great for the hobbyist photographer. Install Dark Table using the following command:
sudo apt install darktable
At this point, it is important to mention that Linux applications are currently restricted to using only the Linux folder in your Chrome OS file system unless you tell it otherwise. That means an application such as Dark Table or Libre Office won’t be able to access your Downloads folder unless you tell it to do so. To give Linux access to other folders or even Google Drive, just open your Files App and right-click the desired folder. Click “share with Linux” and you’re good to go. Now, when you’re in a Linux app, you can find your shared folder by navigating to Computer>mnt>ChromeOS>MyFiles>(name of a shared folder).
So, where do you find more Linux applications to install? That’s a question with no simple answer, I’m afraid. Linux apps live in countless repositories and in various file formats. To install an app from the command line, the application has to exist in the available repositories. The best way to find out is to simply play around. Look for applications you’re interested in the search on how to install them via the command line. Just remember to have “sudo” before apt or apt-get install and don’t worry about breaking something. You can turn Linux off and remove any associated files in the Settings menu right where we started this journey. From there, you can reinstall Linux and start with a clean slate.
As you can see, the command line can be a powerful tool to get even more out of your Chromebook. That’s exactly why we thought Command Line would be the perfect name for this series of tutorials. We want to empower Chromebook users to make the most out of their devices while exploring new ways to use Linux apps on Chrome OS. We’d love to hear from you about your experience with Linux on Chrome OS. What apps are you using? What have you tried that didn’t work? Let us know and perhaps we can figure it out together. Over the next few months, we will explore the various ways to install applications, different terminal commands and whatever else we can discover in Crostini. We hope you’ll join us.

Leave a Reply
You must be logged in to post a comment.