
Support our independent tech coverage. Chrome Unboxed is written by real people, for real people—not search algorithms. Join Chrome Unboxed Plus for just $2 a month to get an ad-free experience, access to our private Discord, and more. Learn more about membership here.
START FREE TRIAL (MONTHLY)START FREE TRIAL (ANNUAL)
Contents
If you’re interested in taking a “scrolling screenshot” or full webpage screenshot in Chrome or on your Chrome OS device, look no further! Today, I’m going to show you three different methods for getting the same end result – a vertical, extra-long screenshot that encapsulates all elements on the screen and not just what you can see in your viewport or on your monitor.
Unfortunately, the built-in “Screen capture” tools across both Chrome and Chrome OS don’t offer a “scrolling screenshot” option, so you’re stuck with unconventional approaches to complete this task. First, let’s take a look at how you can save a webpage as a PDF and convert it into an image using a free, online service!
Save as PDF and convert to an image
Go ahead and visit the website you’re attempting to save, and press Ctrl + P on your keyboard to pull up the print dialog. I know, weird, right? Well, you’re not actually going to be sending anything to the printer. Instead, you’re going to change the print destination to “PDF” and it will magically transform the blue “Print” button into a “Save” option. Pretty cool, right? Now, you can save it anywhere you want, including in Google Drive!
Once your PDF of the website is safe, just go to Google and type in “Convert PDF to PNG” or go directly to Cloud Convert – my favorite tool for this method. On this website, you’ll see a big, red button labeled “Select File” in the middle of the screen. Clicking this will call up your operating system’s file picker where you can locate the PDF and insert it.
There are some options here for the pixel density (PPI), height, width, and more so you can adjust that if you’d like before selecting a file, but in most cases, you’ll just want to leave it as is. Once you’ve injected your PDF into the web service, just click the big, red “Convert” button. After a short processing period (marked by a yellow label), a green “Download” button will appear.
Because your website or “scrolling screenshot” will take up multiple traditional “pages”, you’ll be downloading a zip file that contains multiple PNG images. Go ahead and unpack it to see the results. Pretty easy method, but definitely odd, right?
I just want the steps!
1. Press Ctrl + P on your keyboard
2. Under “Destination” choose “PDF”
3. Click the blue “Save” button
4. Visit Cloud Convert and upload your PDF using the red “Select File” button
5. Follow the on screen steps to convert your PDF into a PNG image!
Use Chrome’s Built-In Developer Tools
Another interesting approach to scrolling screenshots on Chrome and Chrome OS is that of the developer tools menu. If you’re a standard Chrome user or if you just use your Chromebook for everyday tasks and you’re not familiar with a complex set of tools, then don’t worry. I’m going to walk you through this step by step. However, I do recommend you just take the PDF route if you’re worried about messing something up.
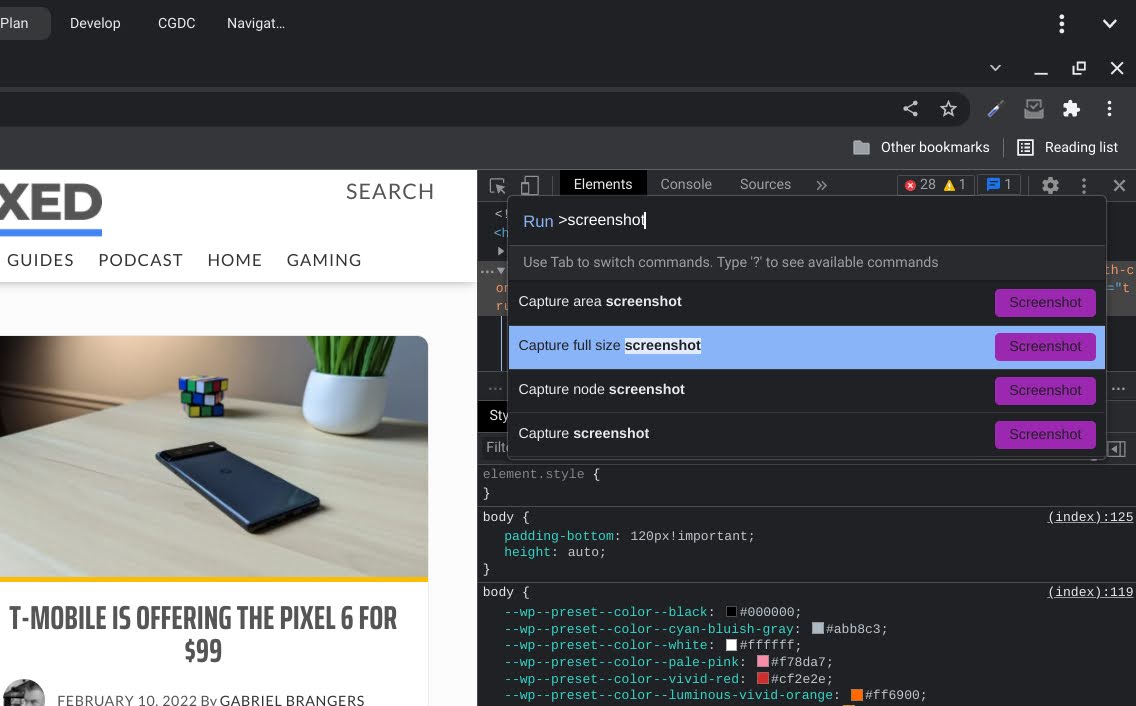
Alright, press “Ctrl + Shift + I” on your keyboard (that’s “I” as in “ice”). A scary, complicated window will appear to the right of your website. Don’t click on anything. We’re actually going to keep using the keyboard for a moment. Next, press “Ctrl + Shift + P” to call up the”Run” command menu here.
Begin typing “screenshot”. A few options will come up, and each one will be marked with a purple label. Take a look at the image below. Do you see the option called “Capture full-size screenshot”? That’s the one I want you to click. If you want a moment after clicking that, you’ll notice that you’ll get a download prompt on Chrome, and if you’re on a Chromebook, your “Tote” will light up indicating that something has been downloaded locally.
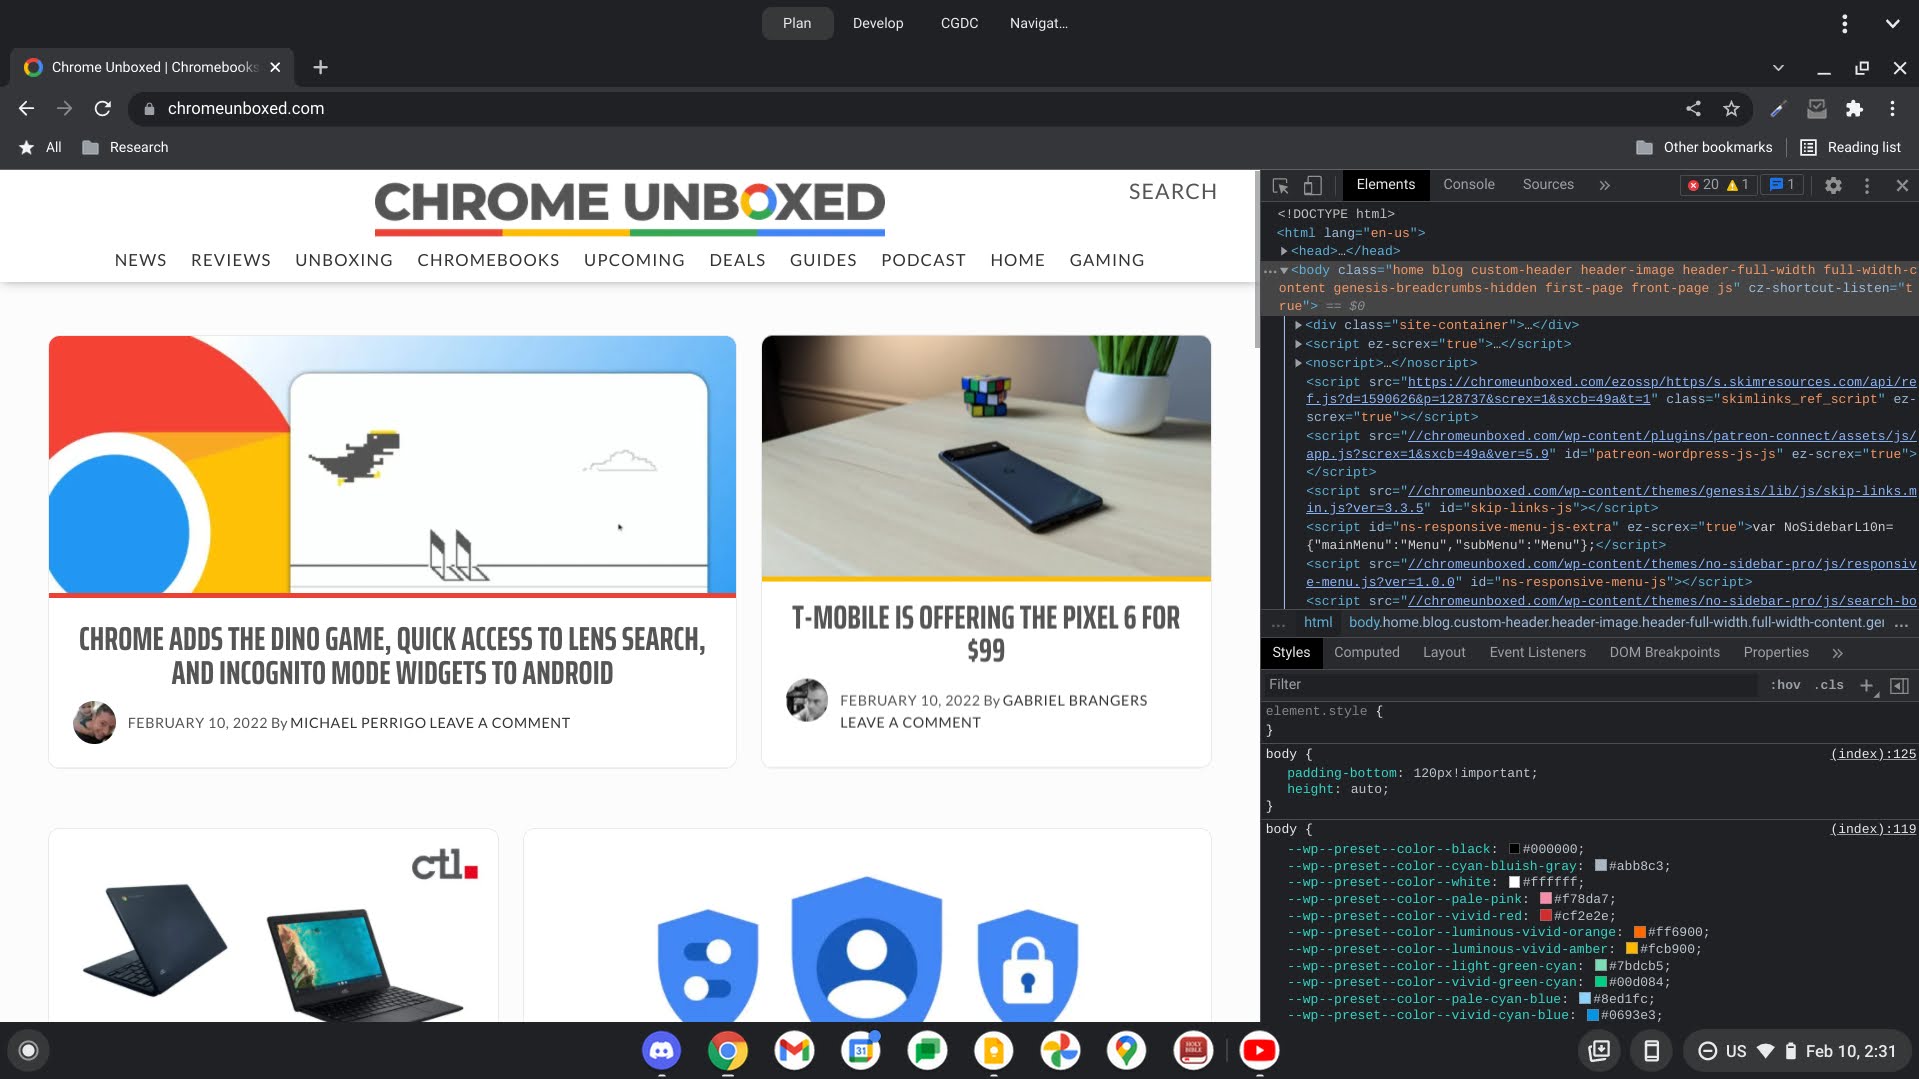
Upon opening your downloaded image, you’ll see that it’s a very long image that you’ll need to zoom into in order to even read. You’ve done it! While this method is a bit scary, as I said before, it is ultimately the easiest and most effective approach. You may or may not have an issue where images further down the website’s page are not loading properly and do not appear in the screenshot.
To remedy this, you’ll simply need to scroll all the way up and down the webpage you’re attempting to take a scrolling screenshot of prior to performing the task to ensure that all of the site’s data has been loaded in and is cached.
I just want the steps!
1. Press “Ctrl + Shift + I” on your keyboard
2. Press “Ctrl + Shift + P” on your keyboard
3. Type the word “Screenshot”
4. Click the “Capture full size screenshot” option
5. Visit your downloads folder or Tote to view the result!
Our Favorite Method: Use a Chrome Extension
This is the last approach. I didn’t immediately mention using a Chrome extension in order to capture a scrolling screenshot because while it’s also relatively easy to do, the steps involved will vary depending on what extension you install from the Chrome Web Store.
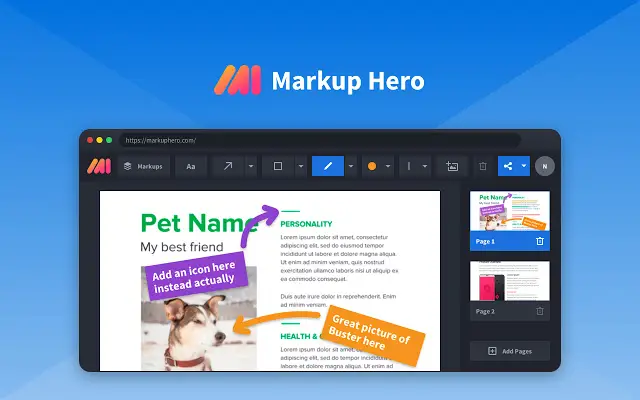
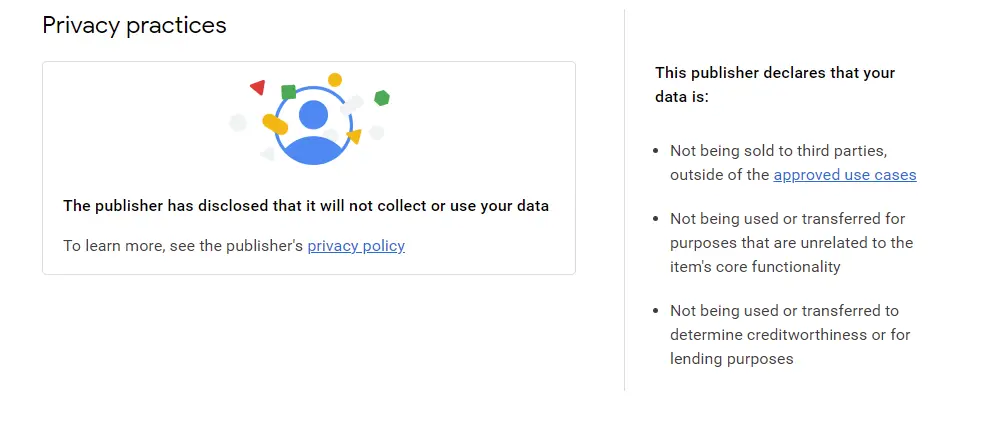
Today, I’m going to show off an extension called “Markup Hero”. We’ve talked about this one before, and it’s quite honestly the one I recommend following along with. However, there are some honorable mentions as well. Extensions like Screenshot Full Page, Screenshot Tool – capture & editor, and Screen Recorder & Screenshot Master all check out on the Web Store as safe to use since they have Google’s seal of approval stating that they will respect your privacy. Please don’t use any screenshot extensions that collect your personal data!
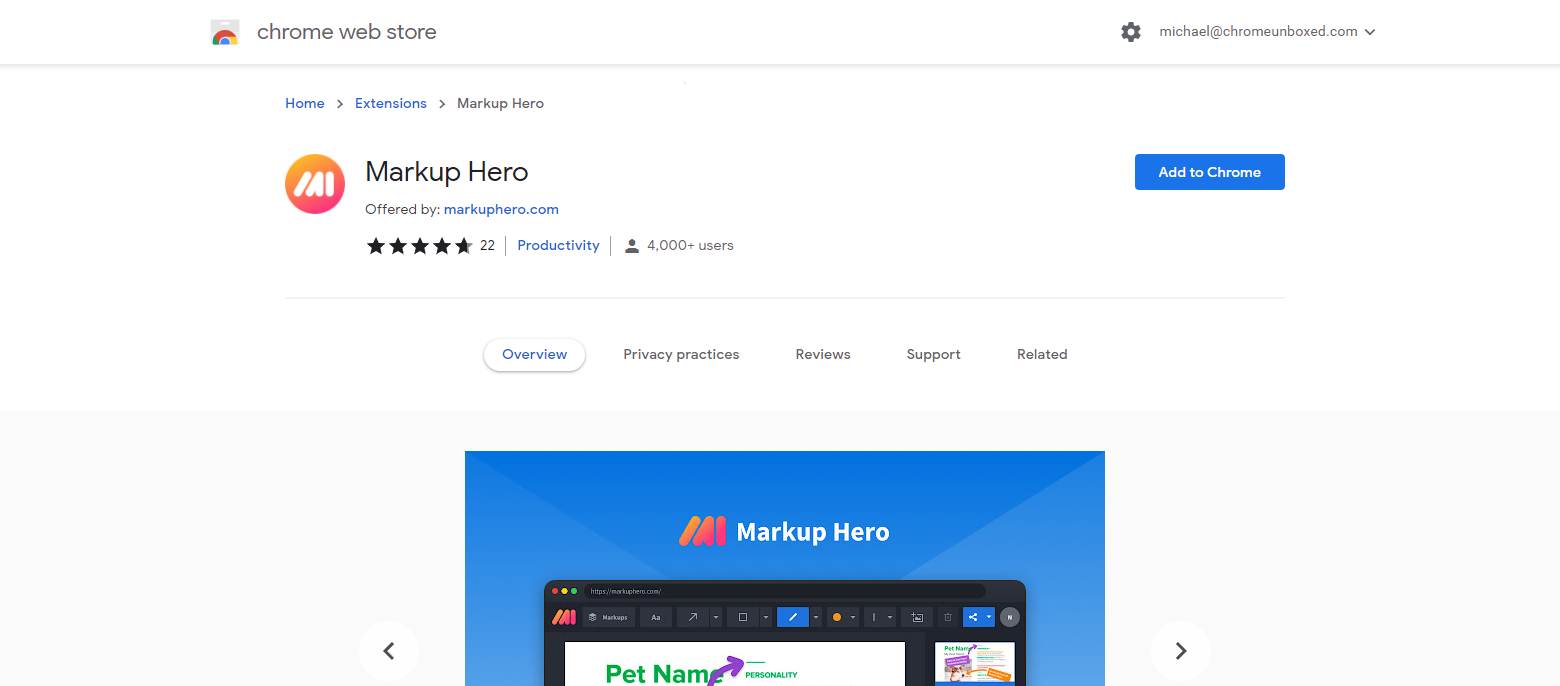
Visit Markup Hero on the Chrome Web Store, and click the blue “Add to Chrome” button as shown below. After a moment’s time, you’ll see that it was installed and is accessible from the top-right “puzzle piece” menu in Chrome. That’s where you’ll find your extensions.
Clicking on it will call up any available extensions, and among them will be Markup Hero. You can always pin this for quick access by tapping on the thumbtack icon to the right of it as well. For now, just click Markup Hero itself, which is well, marked by the icon you see below.
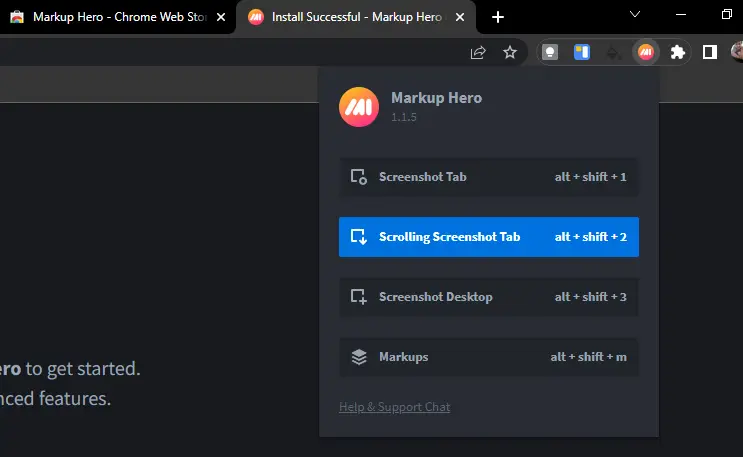
Immediately upon activating it, you’ll see four options. One for Screenshotting a tab, another for performing a scrolling screenshot, yet another for taking a screenshot of the entire desktop, and a last option for marking up what you’ve already snapped. Choose the second option to take a scrolling screenshot or press “Alt + Shift + 2” on your keyboard!
Here’s the fun part. Whatever page you’re looking to take a screenshot of will begin to scroll down on its own as Markup Hero captures it in sections. In the dialog at the top-right of the screen, you’ll also see that the extension is doing its magic, so just wait for the green bar to finish filling up.
Once complete, Markup Hero will automatically open a new Chrome tab with your capture. In addition to that, you’ll be presented with a slew of editing tools to “mark up” your screenshot and subsequently share or download it.
I just want the steps!
1. Install Markup Hero from the Chrome Web Store
2. Open Markup Hero from the Extensions Menu at the top-right of Chrome
3. Choose the “Scrolling Screenshot Tab” option
4. Mark up, share or download your screenshot in a new tab!
At the end of the day, you just want a scrolling screenshot to better represent and share your full idea or vision for collaboration, so use whatever method is easiest to remember or access for you. Again, I’m partial to the Chrome developer tools menu as I don’t do something like this often, so an extension can feel like extra effort for little benefit, but something like Markup Hero is truly unique in that it offers a complete experience from start to finish. The PDF to PNG method is just something I did growing up, and it’s always been the makeshift approach, so it works in a pinch, even though it’s not perfect. I hope this has been helpful!
SUBSCRIBE TO UPSTREAM
Get Chrome Unboxed delivered straight to your inbox
Upstream is our flagship, curated newsletter with the top stories, most click-worthy deals, giveaways, and trending articles from Chrome Unboxed sent directly to your inbox a few times a week. Join 31,000+ subscribers.