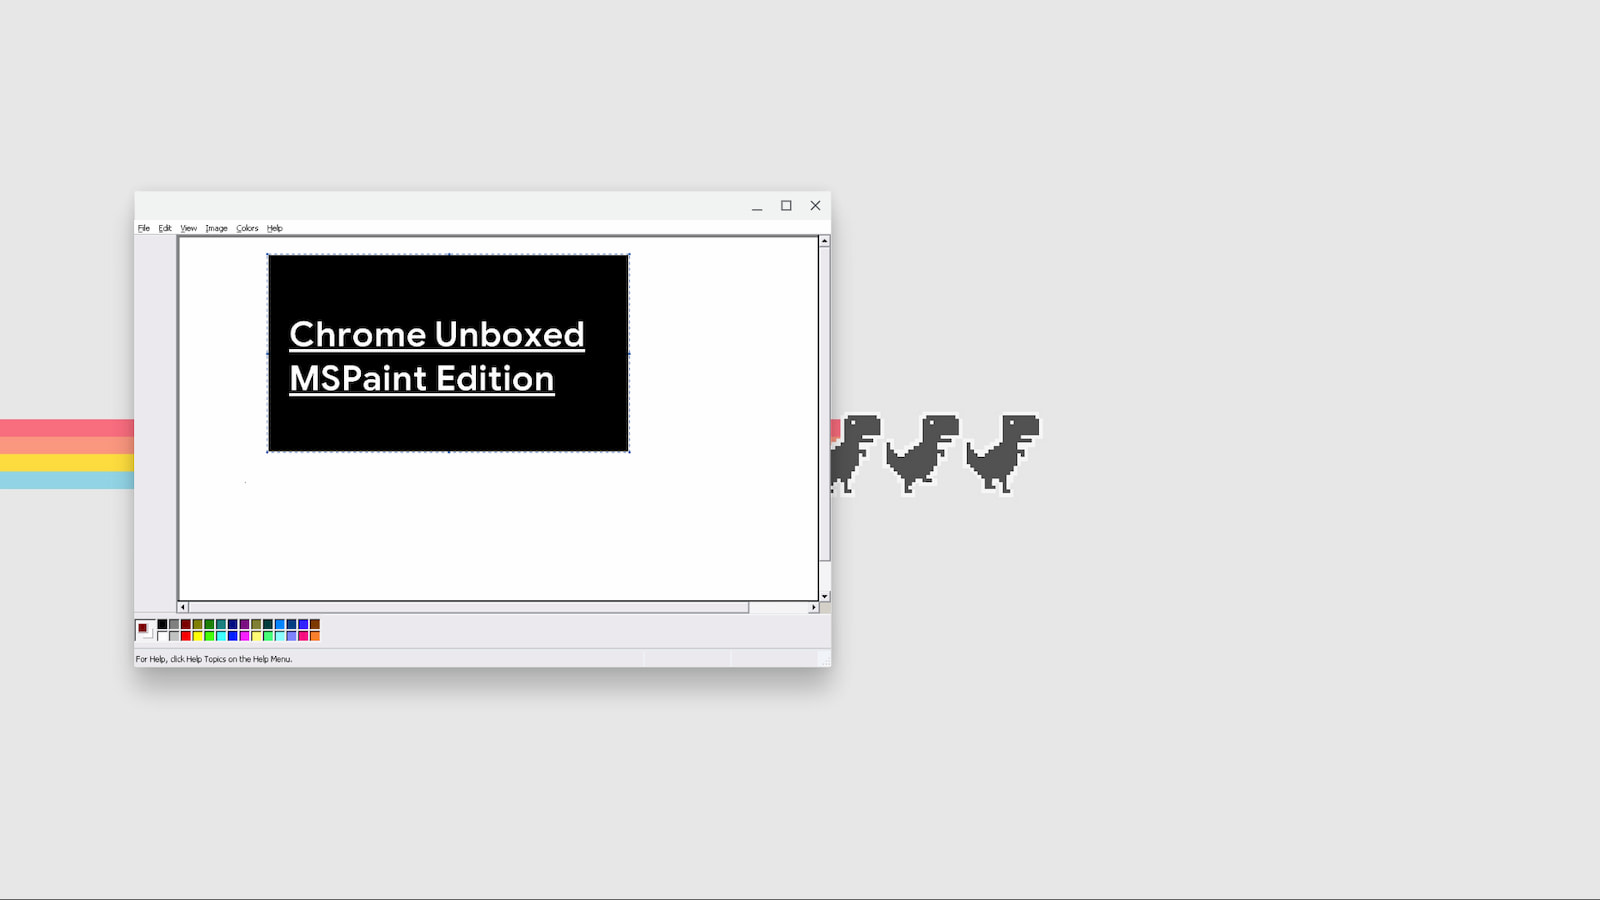
As we dive deeper into the capabilities of Linux on Chrome OS, I would be remiss if I didn’t spend some time experimenting with WINE. What is WINE you ask? Well, by the project’s own definition,
Wine (originally an acronym for “Wine Is Not an Emulator”) is a compatibility layer capable of running Windows applications on several POSIX-compliant operating systems, such as Linux, macOS, & BSD. Instead of simulating internal Windows logic like a virtual machine or emulator, Wine translates Windows API calls into POSIX calls on-the-fly, eliminating the performance and memory penalties of other methods and allowing you to cleanly integrate Windows applications into your desktop.
WINEHQ
On other operating systems, WINE still has a lot of use cases and many gamers use the “compatibility layer” to run old school .exe games on Linux and macOS but it can be used to run a wide variety of Windows applications. Now that Chrome OS will run Linux apps via its Debian-based container tech, a lot of users are wanting to know if they can install and use Windows applications using WINE. So, I gave it a shot and here are the results of my tinkering. As the title of this article implies, this is likely not a viable app alternative for anyone. Installing WINE on Chrome OS is a bit of a pain but thanks to another application called PlayOnLinux, the process is made a bit less painful with the graphic user interface that PlayOnLinux offers.
The benefit of using PlayOnLinux is that it offers a library of applications and games that you can install directly from the GUI. Not only that, but it also handles the various dependencies that WINE needs for each individual application. The downside is the fact that Chrome OS isn’t technically running a full version of Linux and it’s running in a container and that restricts what it can and cannot do. For that reason, some applications simply won’t install while others will launch but are all but unusable. Regardless, I was determined to get this working so I set out to install and run MSPaint on my Chromebook. Here’s the path to my success. If you want to tinker with PlayOnLinux on your Chromebook, the following method worked for me.
First, you will need to prepare your Chromebook to use Linux applications. Obviously, you will need a Chrome OS device that supports Crostini. If you are unsure about your device, head to the settings page via the system tray in the bottom-right corner and look right beneath “Apps” in the left-hand side of the settings menu. If you see “Linux(Beta),” your Chromebook supports Linux apps. You can read more about getting setup with Linux apps on Chrome OS in the Command Line article here. Now we’re ready to setup PlayOnLinux and WINE on your Chromebook. Head over to the PlayOnLinux site and download the .deb file from the Debian section of the downloads page. (You can install from the repository but it requires root privileges and you end up with the same result. Just grab the .deb file.)
Unfortunately, installing the Debian package does not install WINE or the necessary dependencies for PlayOnLinux to run properly. No worries. It only takes a few commands to get it up and running. Open the Linux Terminal app from your Chrome OS launcher and let’s begin. First, we will make sure everything is up to date. Update and install any new packages using the following commands. Just copy the entire command and paste it into the terminal using a two-finger click on your touchpad or a right-click on your mouse.
sudo apt update && sudo apt upgrade -yNext, we will add the 32-bit architecture needed by WINE and install the rest of the necessary packages. Run each of the following commands one-by-one. If prompted, select “Y” and enter to continue. When it’s finished, you should return to the terminal user prompt. Note: The first command will not output anything. It will return the command prompt which is the expected response.
sudo dpkg --add-architecture i386
sudo apt update
sudo apt install wine
sudo apt install wine32
sudo apt-get install libgl1-mesa-glx:i386 libgl1-mesa-dri:i386
sudo apt update
sudo apt install netcat
sudo apt install gettext
Assuming everything installed correctly and you didn’t receive any errors, you can now go to your Downloads folder and double-click the PlayOnLinux .deb file that you downloaded. Wait for the installer to finish and then click the PlayOnLinux icon in your app launcher. The first time you launch the app, it will prompt you to check your hardware. Click yes and move on. Once it’s up and running, you can click install and look through a fairly large list of Windows executables. Keep in mind, many of these games and applications do require you to own a license for the software. If you have .exe files for programs you want to try, you can ask PlayOnLinux to run them with “Install a non-listed program” and selecting the file from your local storage.

For giggles, I installed MSPaint and it worked as well as could be expected but as I mentioned at the beginning, there are too many variables at play here and the performance of PlayOnLinux and WINE on Chrome OS is pretty bad. I wouldn’t recommend using this for anything other than tinkering. If you absolutely MUST have a Windows application, you should probably get a Windows device. Either way, it was fun to figure this out and who doesn’t love a little MSPaint.


Leave a Reply
You must be logged in to post a comment.