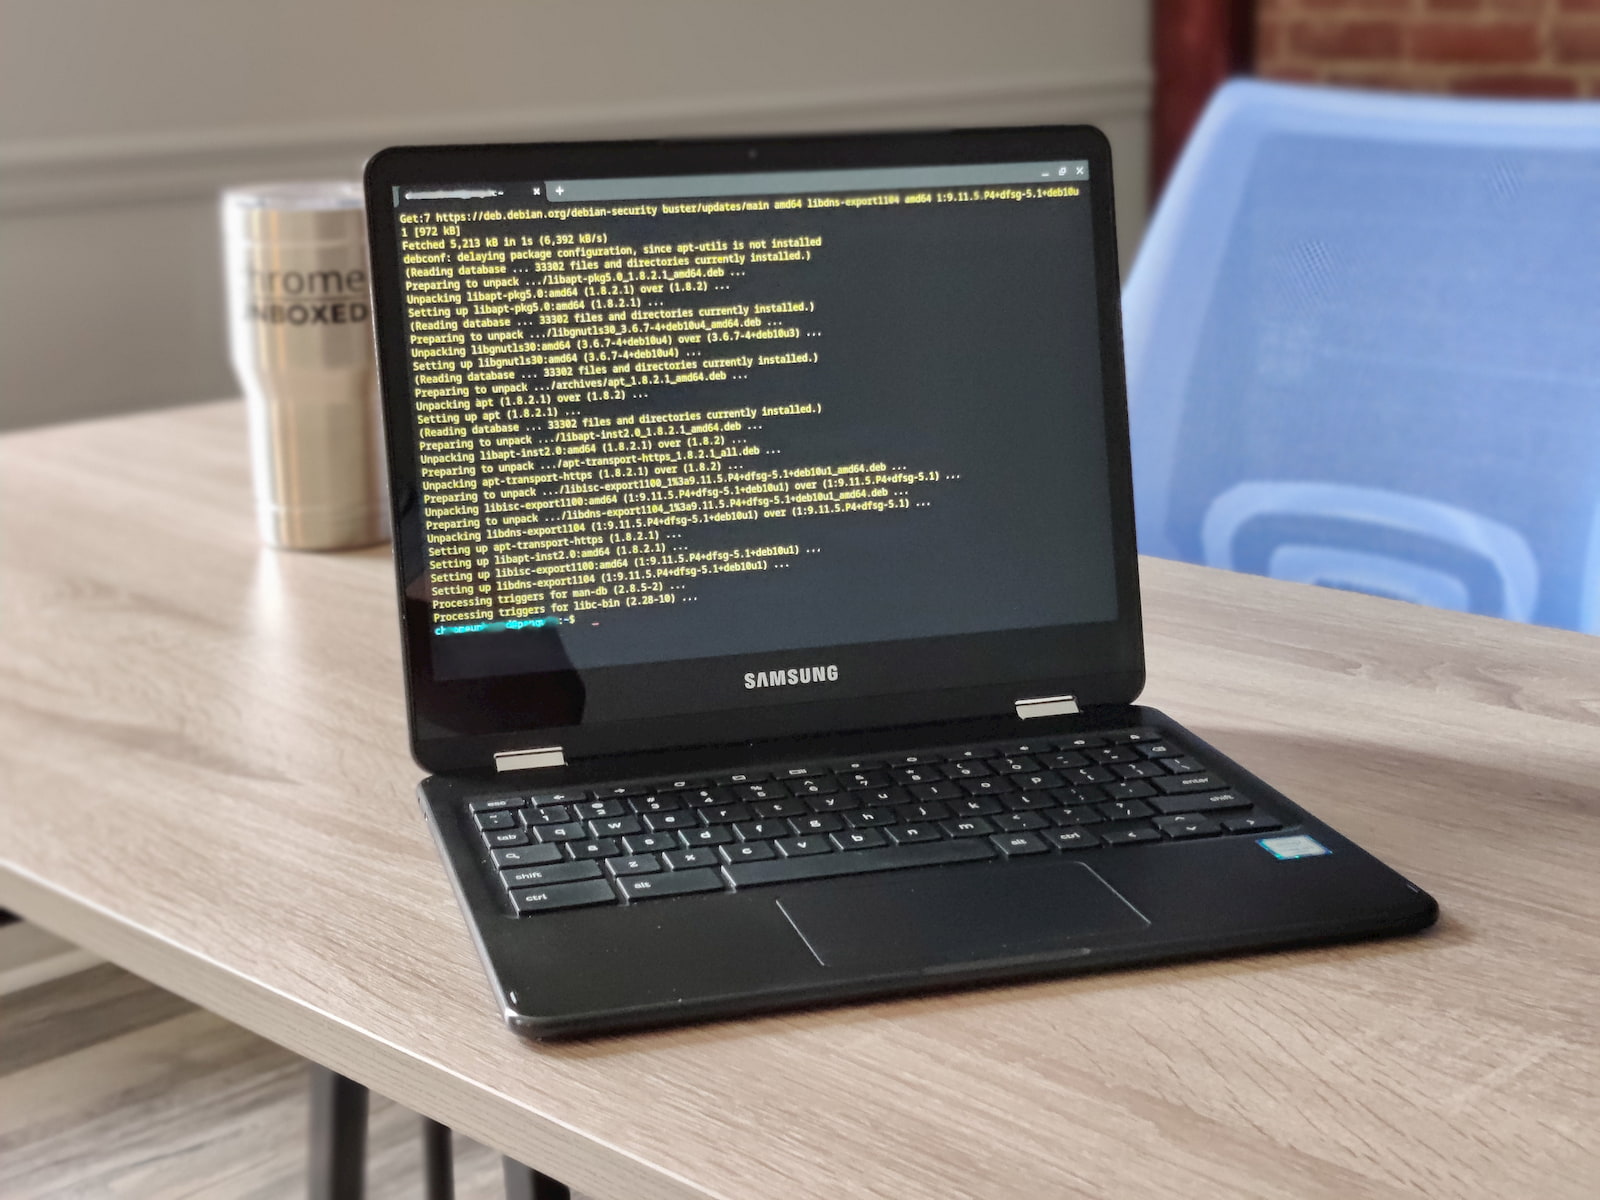
The Linux container on Chrome OS still feels a bit “Beta” in my opinion but it does offer up some useful additions to the Chromebook toolbox. Apart from giving you a new set of productivity tools, the terminal is a great way to learn your way around the Linux command-line interface. Whether you’re teaching a class on Linux how-to or using the Debian-based container for serious development, Crostini is disabled by default on managed Chrome OS devices and you’ll need access to an IT admin or the Admin Console to enable it.
If you manage a large fleet of Chrome devices and users, some of this may seem elementary to you and I applaud you for learning the mysterious ways of the Google Admin Console. Should you find yourself new to managed users and devices, you might be fumbling around the Admin Console looking for a way to enable the Linux container for your fleet of managed Chromebooks. Don’t feel bad. The main reason I’m writing this article is that I found myself doing the exact same thing. No worries. Enabling Linux for your users is quite simple once you know where to look. So, let’s get to it.
Obviously, you will need to have administrator access to your company’s organization via the Google Admin Console. If you don’t, it might be a good time to make a call or shoot your IT admin a friendly email. Maybe buy them some coffee or a personalized mouse pad. If you have access, just head over to admin.google.com and log in with your company credentials. From the main screen, click the hamburger (three horizontal lines) menu at the top-left of the page. Hover the “Devices” tab and click Chrome. On the next screen, select the “User & browser settings” tab.
This is where it is easy to get lost. The search function in the admin console isn’t that intuitive and it won’t produce results for many of the extensive features available for managing your users. Instead of searching for days to find Linux, just press Ctrl+F and you will get a nifty search box from Chrome that will search everything on the page. Type “Linux” in the search box and hit enter. This should take you to the exact setting that we’re looking for under the section for virtual machines. Command-line access is enabled by default but the actual Linux virtual machine is not. Go ahead and switch that setting to “Allow usage for virtual machines.”
I found that enabling this feature did not instantly allow me to enable Linux on my managed device. The button to enable Linux on a Chromebook is found under the Developer tab in the settings menu. After logging out and back in, I found that launching the terminal app from the app launcher was the quickest path to start the setup flow and start the Linux container. Once launched, simply set your Linux username and select how much hard drive space you wish to allot to Linux. After a minute or two, you’re ready to go. There are a couple of package updates available for the container and you can install those by running sudo apt update && upgrade -y in the terminal. Keep in mind, this will enable Linux for all users in your organization and they will be able to access this from any managed Chrome OS device.

Leave a Reply
You must be logged in to post a comment.