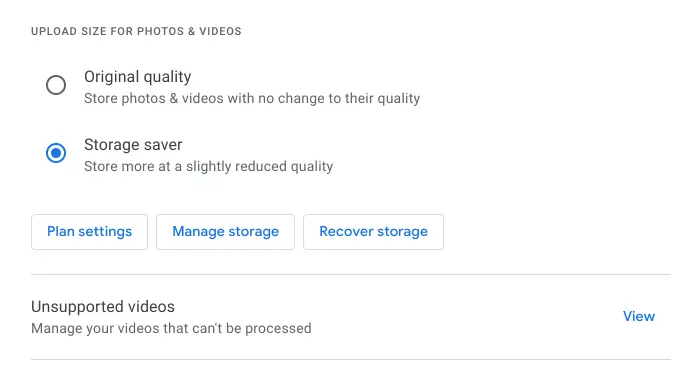
Back in June of this year, Google made the move to stop allowing unlimited Google Photos storage. As a part of that move, they also introduced a new name for the lower-quality image upload option, changing it from the confusing “High Quality” to “Storage Saver.” As it was before, Storage Saver keeps your photos in up to 16MP quality and that has been my go-to for years. I can’t remember the last time I looked back at a photo and got upset at the quality of it in my Google Photos collection.
However, with the changes in June, Google even made those once-free Storage Saver photos count against the base 15GB of storage the company hands out as standard to all users. While these compressed images definitely save a ton of space, they do each count against your storage. Though it’s not as sweet of a deal as it once was, I think using Storage Saver for your Google Photos backup is the right move for 99% of users.
Here’s the rub. I’d wager there are many of you out there that either never turned this on or meant to after the changes in June and simply forgot about it. I had a family member over the holiday weekend in this exact boat and she was wondering why her phone and Chromebook were nagging her about Google storage all of a sudden. I’m sure you know where this is headed: the issue was full-size images in her Google Photos.
It was at that moment that I had to remind myself that there is a tool in place that can help with this issue as long as you know where to look. I dug around a bit, got her photos reduced, and kept her from having to pay for storage at least for a little while longer. There are some cool tools in here that you can use and by leveraging them all and spending a bit of time auditing your photos, you can free up quite a bit of space in your Google account. There are some caveats, here, so read the whole guide before making any moves you might regret later. Let’s get started.
Access Google Photos Storage settings options
First, you need to head to photos.google.com and click the settings gear up in the top-right corner to access Google’s storage-saving options. There are a few things you can do here to clean up your space, and the easiest, fastest method is a one-click solution that converts all your full-size images over to Google’s Storage Saver versions. Before you do that, however, if you don’t want to do this in the future, make sure you select “Storage Saver” from the upload options at the top to make sure you are always uploading compressed images moving forward. Double check this on your phone as well since the setting doesn’t seem to sync across devices.
How to recover storage in Google Photos with image compression
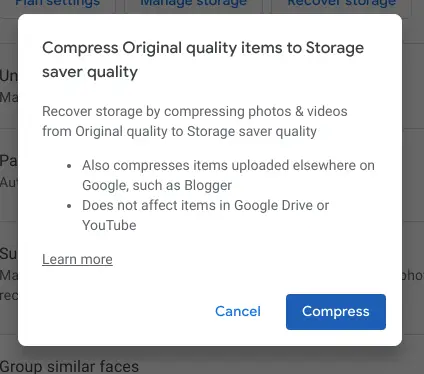
Click into the Recover Storage option and you’ll be hit with this warning. This is where you need to really think about your photo collection. For me, when we have professional images taken of our family, I upload them at full quality to my Google Photos account. While I’m fine with compressing images from my phone, I want the high-res stuff on those professional images. Therefor, I can’t use this option because it would compress all those images, too. If you find yourself in this sort of situation, you could always download all your high-res images you want to keep high quality, put them in Google Drive, and then compress the rest of your image library.
Either way, be mindful of the fact that this compress option will affect every single photo in your account and cannot be undone: be absolutely sure you want to do this before you click that button. If you do choose to proceed, the process will take a bit of time and will complete in the cloud without you needing to stick around. At the end, you should see a big jump in your Google Photos free space available.
How to remove large, blurry, or unnecessary photos and videos
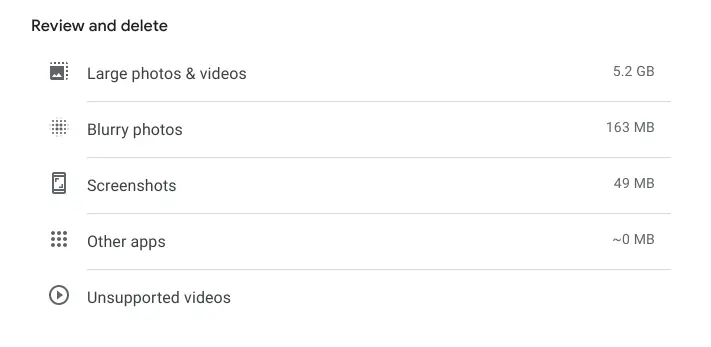
The next option to free up some space is found under the Manage Storage option in the main settings menu. There, you’ll find a few helpful tools like Large Photos & Videos, Blurry Photos, Screenshots, and Unsupported Videos. Let’s start with Large Photos & Videos.
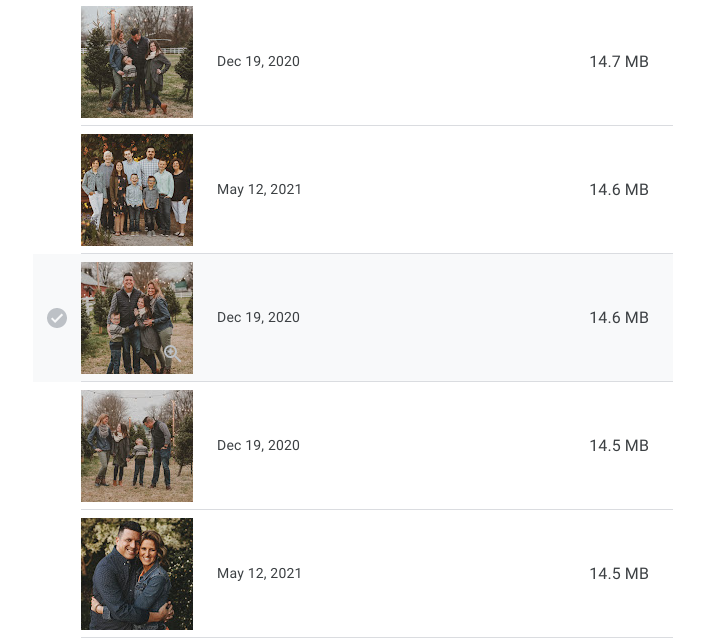
With this option, you can see individual photos and videos that are abnormally large and delete them on a one-by-one basis. This will obviously be more time-intensive that clicking that compress button from the option above, but if you have some stuff in your Google Photos you would like to remain at full quality, this is your only option. Unfortunately, there is no solution for compressing images or videos one-by-one, but you could always download those you want to keep in a folder and re-upload with the Storage Saver option turned on.
The next option – blurry photos – is quite similar. Google tries its best to pick out your less-than-best photos and gives you the same download/delete options in a similar menu to the large photos layout above. The same thing applies here as well: delete or download on a case-by-case basis to your heart’s content.
Finally, screenshots and unsupported videos are quick ways to free up space as well. Unsupported videos can’t get processessed, so they remain quite large. For me, they weren’t even viewable, so that was an easy delete. Same with screenshots: I generally use those in the moment and forget about them. These are both low-hanging fruit options that can be removed by most users without too much thought.
If you take some time and work your way through these options, you will likely save yourself a ton of storage and can put off paying for Google One for a bit longer. Personally, I like using these tools to clean things up a bit and then paying a little per month for space on Google’s servers. At $2/month, I think 200GB of storage is fair and I don’t have to think that hard about what photos to keep or delete. At the end of the day, you are going to end up paying for storage somewhere if you don’t want to constantly be worried about local storage on a physical device that could fail. I don’t want that on my mind all the time, so I recommend pruning where you can, and parting with the cash where you simply can’t.
Join Chrome Unboxed Plus
Introducing Chrome Unboxed Plus – our revamped membership community. Join today at just $2 / month to get access to our private Discord, exclusive giveaways, AMAs, an ad-free website, ad-free podcast experience and more.
Plus Monthly
$2/mo. after 7-day free trial
Pay monthly to support our independent coverage and get access to exclusive benefits.
Plus Annual
$20/yr. after 7-day free trial
Pay yearly to support our independent coverage and get access to exclusive benefits.
Our newsletters are also a great way to get connected. Subscribe here!
Click here to learn more and for membership FAQ


