


Support our independent tech coverage. Chrome Unboxed is written by real people, for real people—not search algorithms. Join Chrome Unboxed Plus for just $2 a month to get an ad-free experience, access to our private Discord, and more. Learn more about membership here.
START FREE TRIAL (MONTHLY)START FREE TRIAL (ANNUAL)
I can’t be the only person who has wished to be able to send a screenshot of something I’m looking at on TV, right? With standard TV, YouTube, Netflix, and a whole host of video content at our fingertips, the entire setup simply begs for still images from all these sources to be shared at a moment’s notice. Whether it is a funny show, a moving scene, or a beautiful interior of that house in the home remodeling show you are wrapped up in, when it comes to shareable content on your TV, there are too many instances to count.
With the old Chromecast setup, the ability to actually grab a screenshot never crossed my mind because the devices were just too simple to expect that. After all, once a screenshot is captured, you need a file system and a sophisticated method to move that image around in order for any of the effort to be worth anything. With Google TV, however, all of that is possible if you know how to leverage the system in the right way, and today we want to walk you through the process that will get you snagging still images from your TV with the simple press of a button. Let’s go!
Setting Up the apps you need
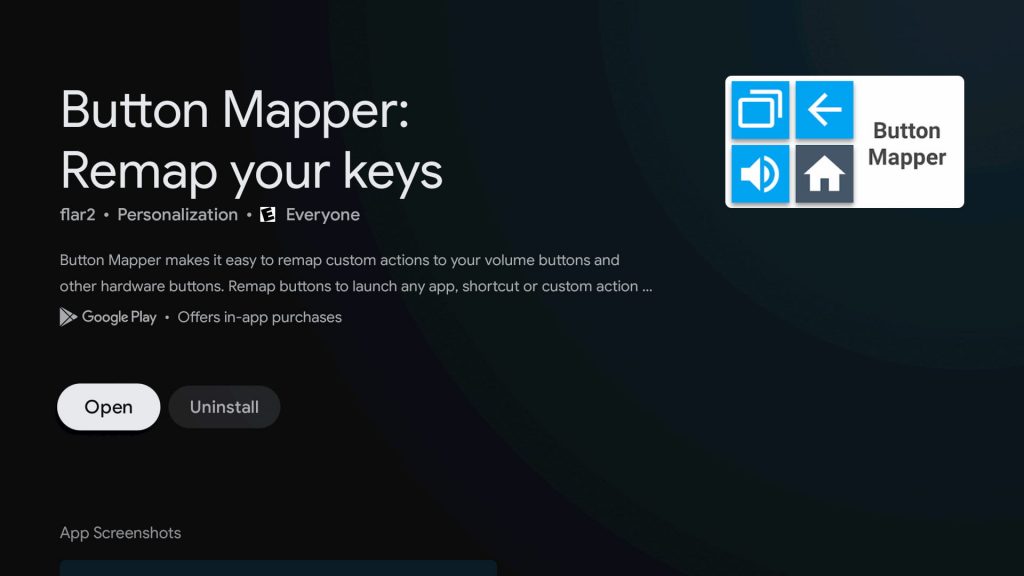
First up, we need to get two apps installed: Button Mapper and any file manager of your choosing. Let’s talk about Button Mapper first. Simply hold the Assistant button on your remote and say “Install Button Mapper.”
As soon as you get it installed and it is ready, hit that ‘Open’ button and you’ll be asked to start the Accessibility settings and after selecting yes, you’ll be taken to the general settings screen. Scroll down and select ‘System’ followed by ‘Accessibility.’
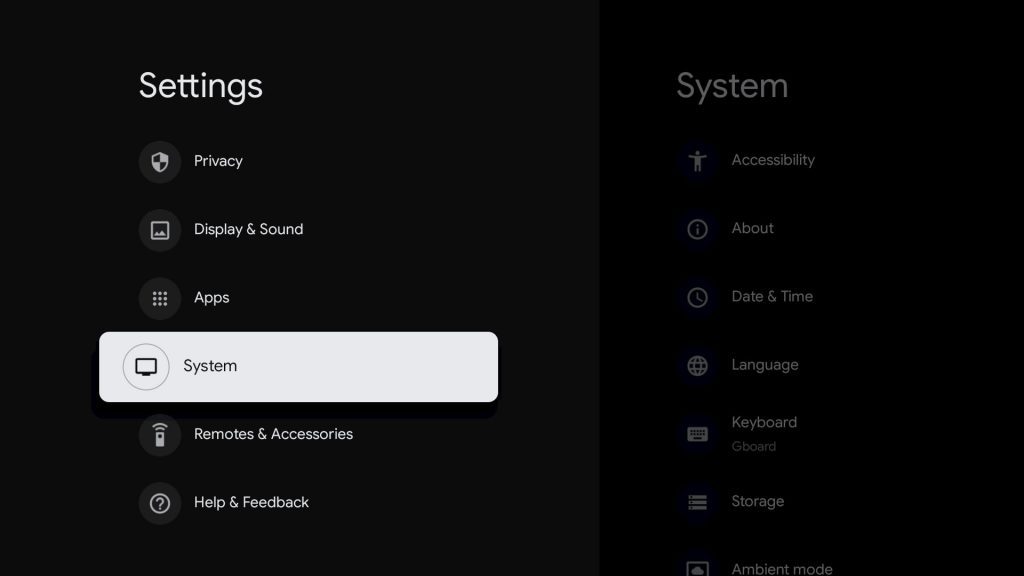

Click into this menu and scroll all the way down to the ‘Button Mapper’ section. Select this menu and simply select ‘Enable’ on the toggle to turn on button mapping. You’ve now set up the app to work!

Configure the Button Mapper app
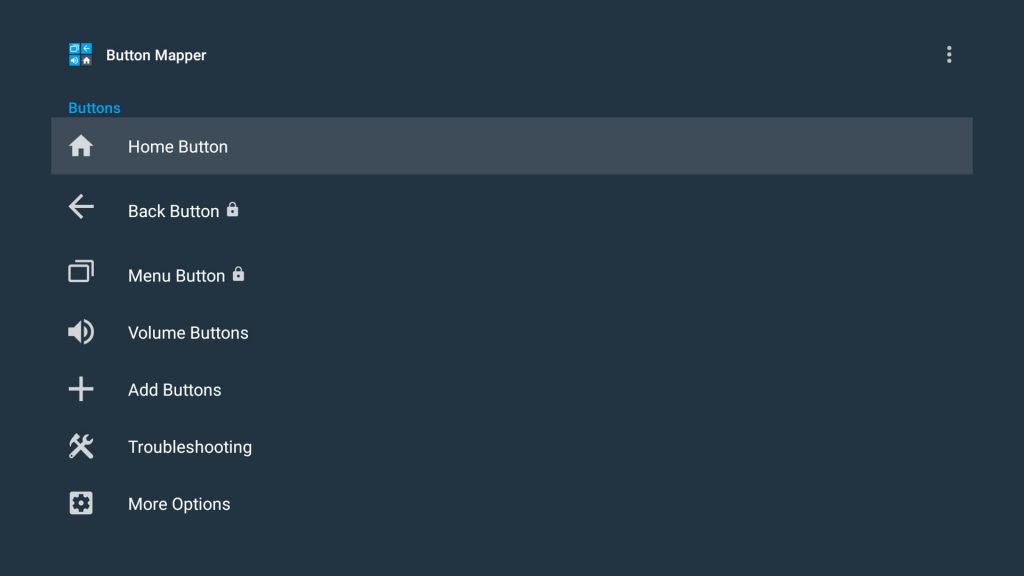
Now that you’ve enabled your Chromecast to work with the Button Mapper app, you simply need to configure the app to take screenshots based on your action. The app allows for the use of the volume keys, home key, and back key on your remote. We found the volume keys don’t quite work if you’ve programmed your remote to control the volume on your television set or sound bar, so we chose to go with the Home button as our shortcut. Let’s get into the setup.
At the main screen of the Button Mapper app, you can select which buttons you’d like to use for your shortcuts. Without paying for the service, the home button is really your main option. I chose to go with the double-click action as it seems to be the easiest to do and is not leveraged anywhere else by the OS. After selecting the Home Button as your choice, you’ll then be taken to the screen to make your other choices on the type of button press you want and the eventual action you’d like it to perform.
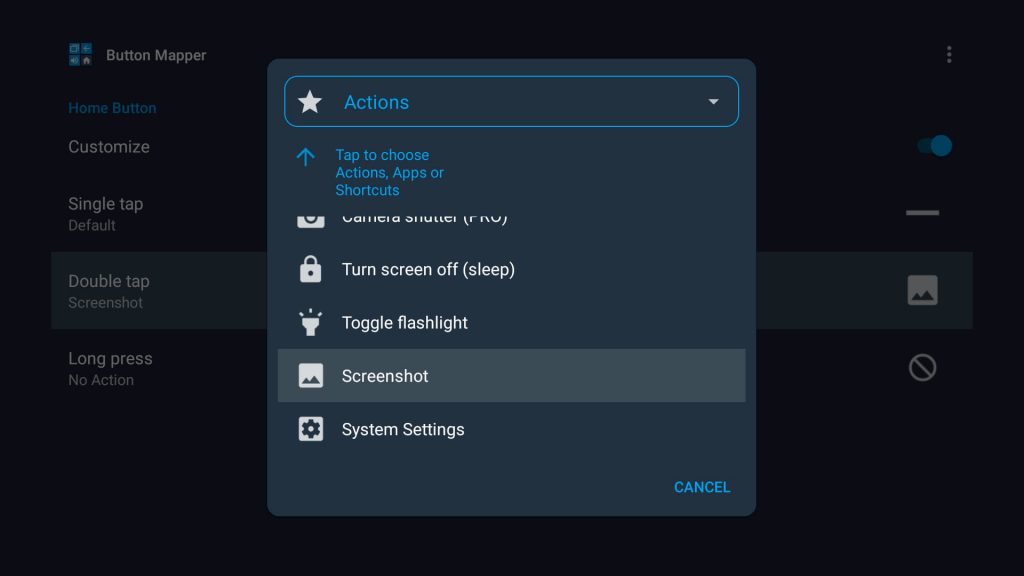
Simply toggle on the ‘Customize’ option and then choose whether you’d like to remap the double tap or long press. Obviously, don’t remap the single tap of the Home Button as you’d lose a key function of your remote at that point.
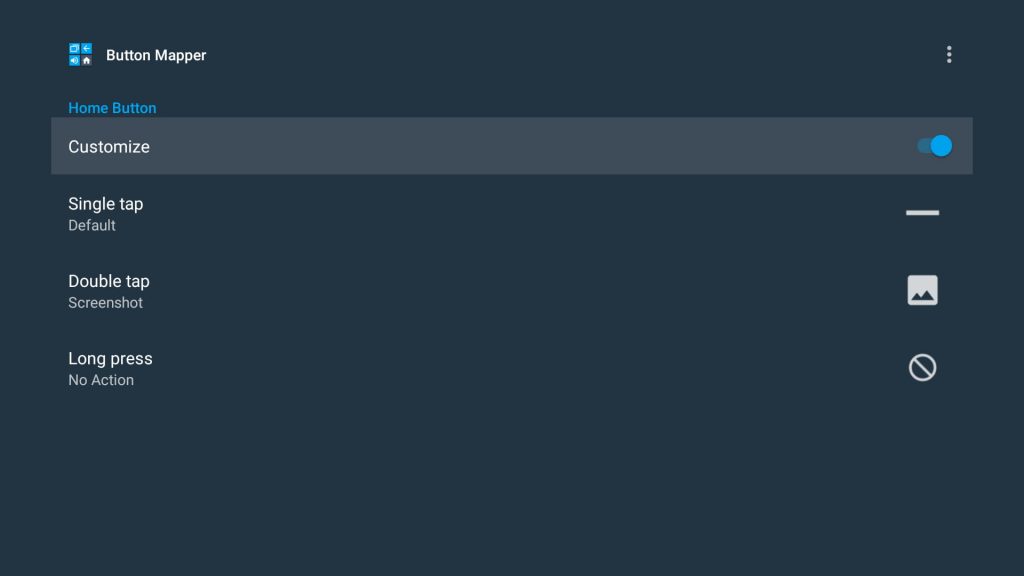
Once you choose either long press or double tap, you’ll be given the option to choose what that action does, and for the purpose of this article, we’re choosing the Screenshot option. Once you select this, you can exit the app (just press Home) and literally anywhere in your Google TV interface, you can now grab a screenshot to share with friends and family.
How you can share the screenshots you capture
You may be asking exactly what you can do with those screenshots after you snag them. That’s a fair question with another relatively-simple answer. There are tons of gallery applications you can install to simply view your images, but the best way to get them off of your Chromecast is by way of a file manager. There are quite a few that work, but we found X-plore to be the best of the bunch. With a two-pane setup and ability to add Google Drive to your file system, it is as simple as navigating to the /Pictures folder on your Chromecast and moving your photos any Google Drive folder you choose. From there, you can share wherever you would like. Enjoy!
Thanks to How-To Geek for the Android TV version of this setup that inspired this post!
SUBSCRIBE TO UPSTREAM
Get Chrome Unboxed delivered straight to your inbox
Upstream is our flagship, curated newsletter with the top stories, most click-worthy deals, giveaways, and trending articles from Chrome Unboxed sent directly to your inbox a few times a week. Join 31,000+ subscribers.