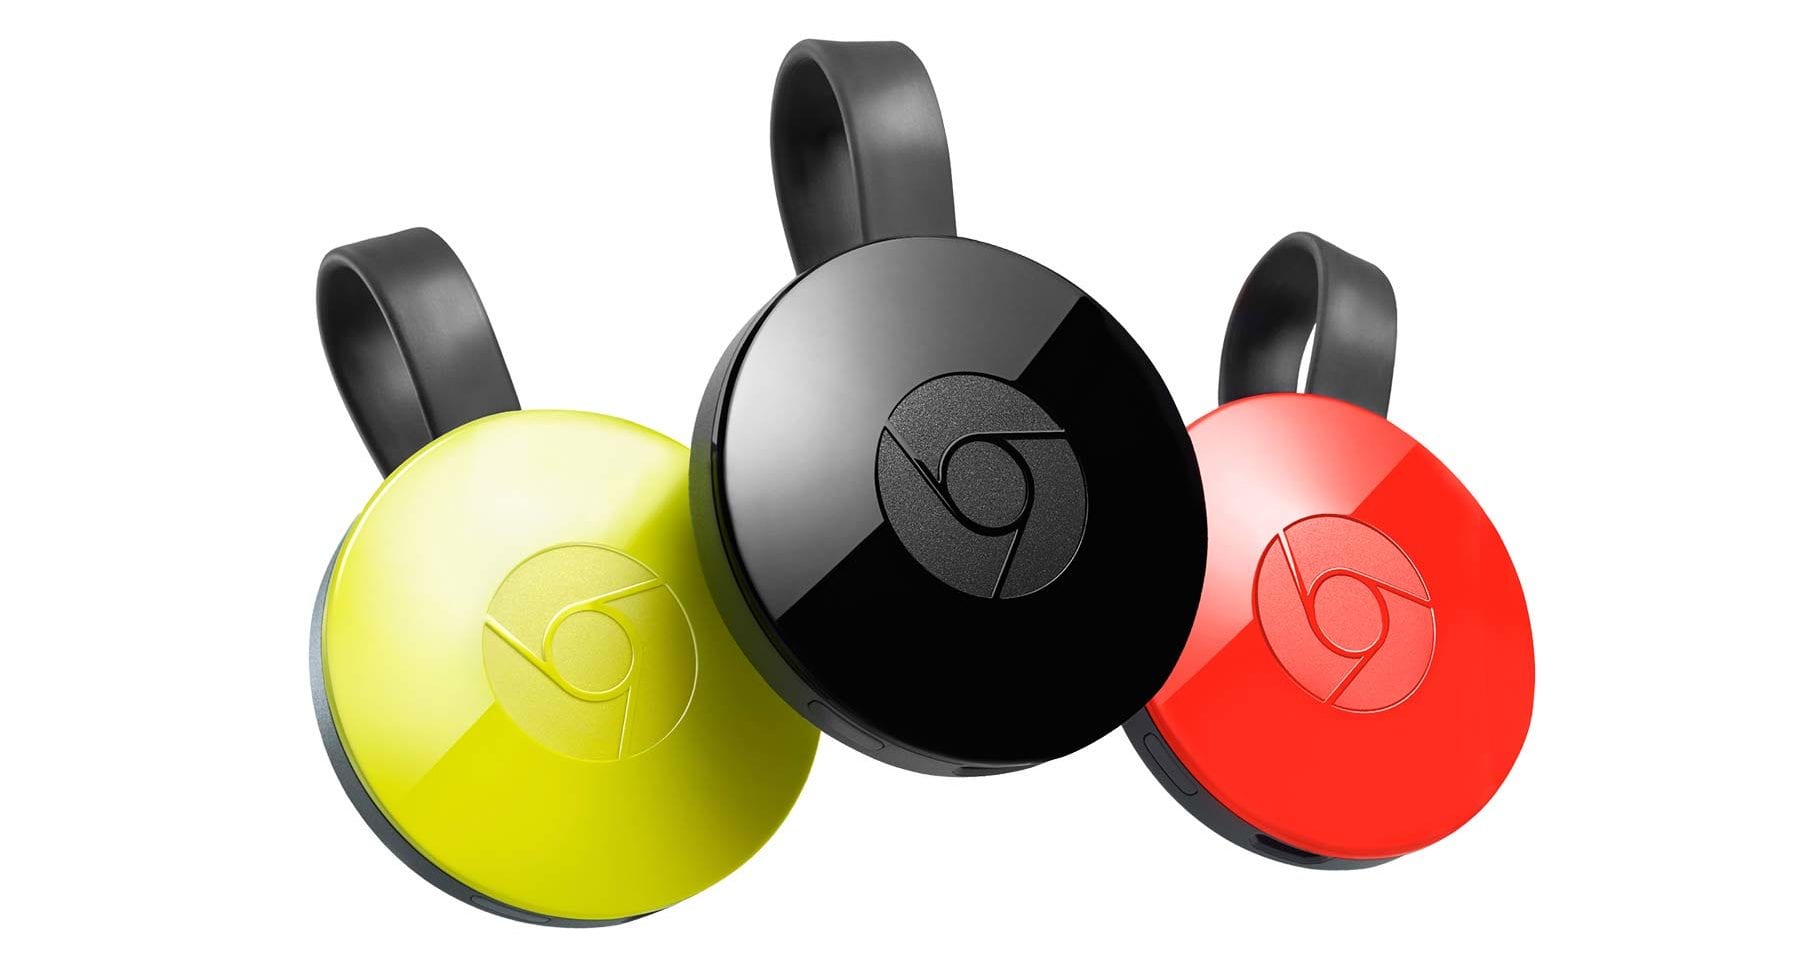
 Yesterday we saw considerable traffic around our Chromecast post. Being a Chrome-focused site, we’ve talked intermittently about Chromecast up to this point.
As the traffic clearly shows, our readers are very interested in all things Chromecast, so we will start delivering more things like tips, how-to’s and new features as we come across them.
The best thing I’ve done with my Chromecast setup lately is Audio Groups.
Here’s the setup: at the office, we have a few bluetooth speakers throughout. Multiple speakers with multiple people playing multiple songs.
It was chaos! (not really, but a little drama never hurts)
We decided to purchase a few Chromecast Audio devices as all the speakers have AUX inputs – you know, the one Apple has deemed worthless?
We got them all plugged in and set up with the handy Google Cast app that is available in the Play Store or App Store. It’s a simple process. Open the app and have your Chromecast device plugged in. The Google Cast app will find the device automatically and step you through all of it. Easy peasy.
What Are Groups?
 Once your devices are all set up and on the network, it’s time to create your groups.
Once created, groups behave like a unique Chromecast device on your network. Say, for isntance, you have 3 Chromecast Audio devices set up on your network. When you go to cast a song, you can only choose one of the 3 devices to play your music on. One at a time.
When you have groups, however, you get to pair up Chromecast devices and that group appears in the device list right there with your physical Chromecast devices. So with 3 Chromecasts (we’ll call them A, B, and C), for instance, you could create a group with A and B, B and C, A and C, or all 3 (A,B and C) devices. You can name these groupings differently so you can decide which group to use and when.
In a home, for example, say you have a Chromecast in the living room, kitchen, and 3 bedrooms. You could create a group with the kitchen and living room devices, name it ‘downstairs’ and cast to only that group (and only those 2 devices) when you have company. In the mornings when it’s time for school, you could blast an obnoxious song over the group you made for ‘bedrooms’ to get everyone up and going.
 You see how cool this can be. Oh, and because of the fact that these are all casting (not mirroring via Bluetooth), they can all be playing at exactly the same time with no lag between devices. If you desire some offset in playback (doppler effect for big spaces is a real thing), that is available as well. Just go to the device list, click the 3-dot menu, select ‘Device settings’ > ‘Group delay correction’ and mess with the slider until you get the desired effect.
For what it’s worth, we’ve never had to adjust anything. It has, quite literally, just worked.
The first time you hear it is really magic.
How To Set It Up
 Now that the idea is clear and the use-cases are understood, let’s get it set up!
From above, let’s imagine we have 2 devices we want to group up. First, you go to your Google Cast app and under the ‘Devices’ section, click the 3-dot menu and select ‘Create group’ on one of the two devices you want to group.
Next you’ll be met with the screen that allows you to name your new group and select the devices you want to add. At least 2 must be selected.
Once you’ve selected at least 2, click save up top and you’ll be taken back to your device list. Scroll down and you will see your new group there with your other devices.
That’s it!
Now, when you go to cast some music, your new group(s) become a choice in your list.

Deletion of your group is dead-simple, too. Go to that same device list we’ve been working on in the Google Cast app, click the 3-dot menu of the group, and select ‘Delete group.’
And it’s all gone.
We hope this quick guide leads some of you to some serious audio bliss in your homes and workplaces! Enjoy it!
Leave a Reply
You must be logged in to post a comment.