

Chromebooks have come to be known for their lightweight operating system, but over the years as new features like Linux, Google Play apps, and more have been added, we’d be lying if we said it booted up as fast as it used to or remained just as speedy. This, of course, depends on how you use your device, and for most, they will likely never experience any slow down, but for a power user, it’s easy to find yourself bogged down by several aspects of the OS that have evolved to provide more benefit, but as a trade-off, less speed.
Chrome OS is comparatively lightyears ahead of Microsoft Windows in terms of speed, but that’s not a jab – each OS has its own focus, and on Google’s, you’re not using full-fledged Windows applications like you would on Windows. Today, we’re going to show you a few tips and tricks for speeding up your Chromebook regardless of why its previously great performance has dipped or tanked.
Check for an update
The first thing you’ll want to do is to check for an update for your device. Sometimes, Google screws something up with the operating system, and users are stuck with a slightly buggy or slow experience until it pushes a fix. While Chromebooks do update automatically, you can expedite that process by manually checking for an update by yourself:

- Open the Settings app
- On the left-hand sidebar, scroll down and click “About Chrome OS”
- Click the blue “Check for updates” button
- Wait for the update to complete and then click “Restart”
Free up storage space
This may sound strange, but phones and computers may slow down when their storage space is restricted or used up. I’ve always wondered why this is and thought it odd, but apparently, it has something to do with the storage being used for temporary and cache space while running apps. It’s recommended that you leave about 25% of your storage space free for these tasks, but if you’re anything like me, you install every game and app on your Chromebook that you can possibly find because you want to play them all even though you have no time.
Others may fill their internal storage space with files like photos, videos, or music. Before we continue, I want to recommend that you consider storing these items in Google Drive, Photos, or an external device like an SD card, thumb drive, or hard drive. This will free up much of your internal device space, but if you’re averse to the cloud for privacy reasons, you’ll want to follow the steps below to free up space by yourself!
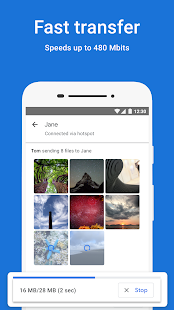
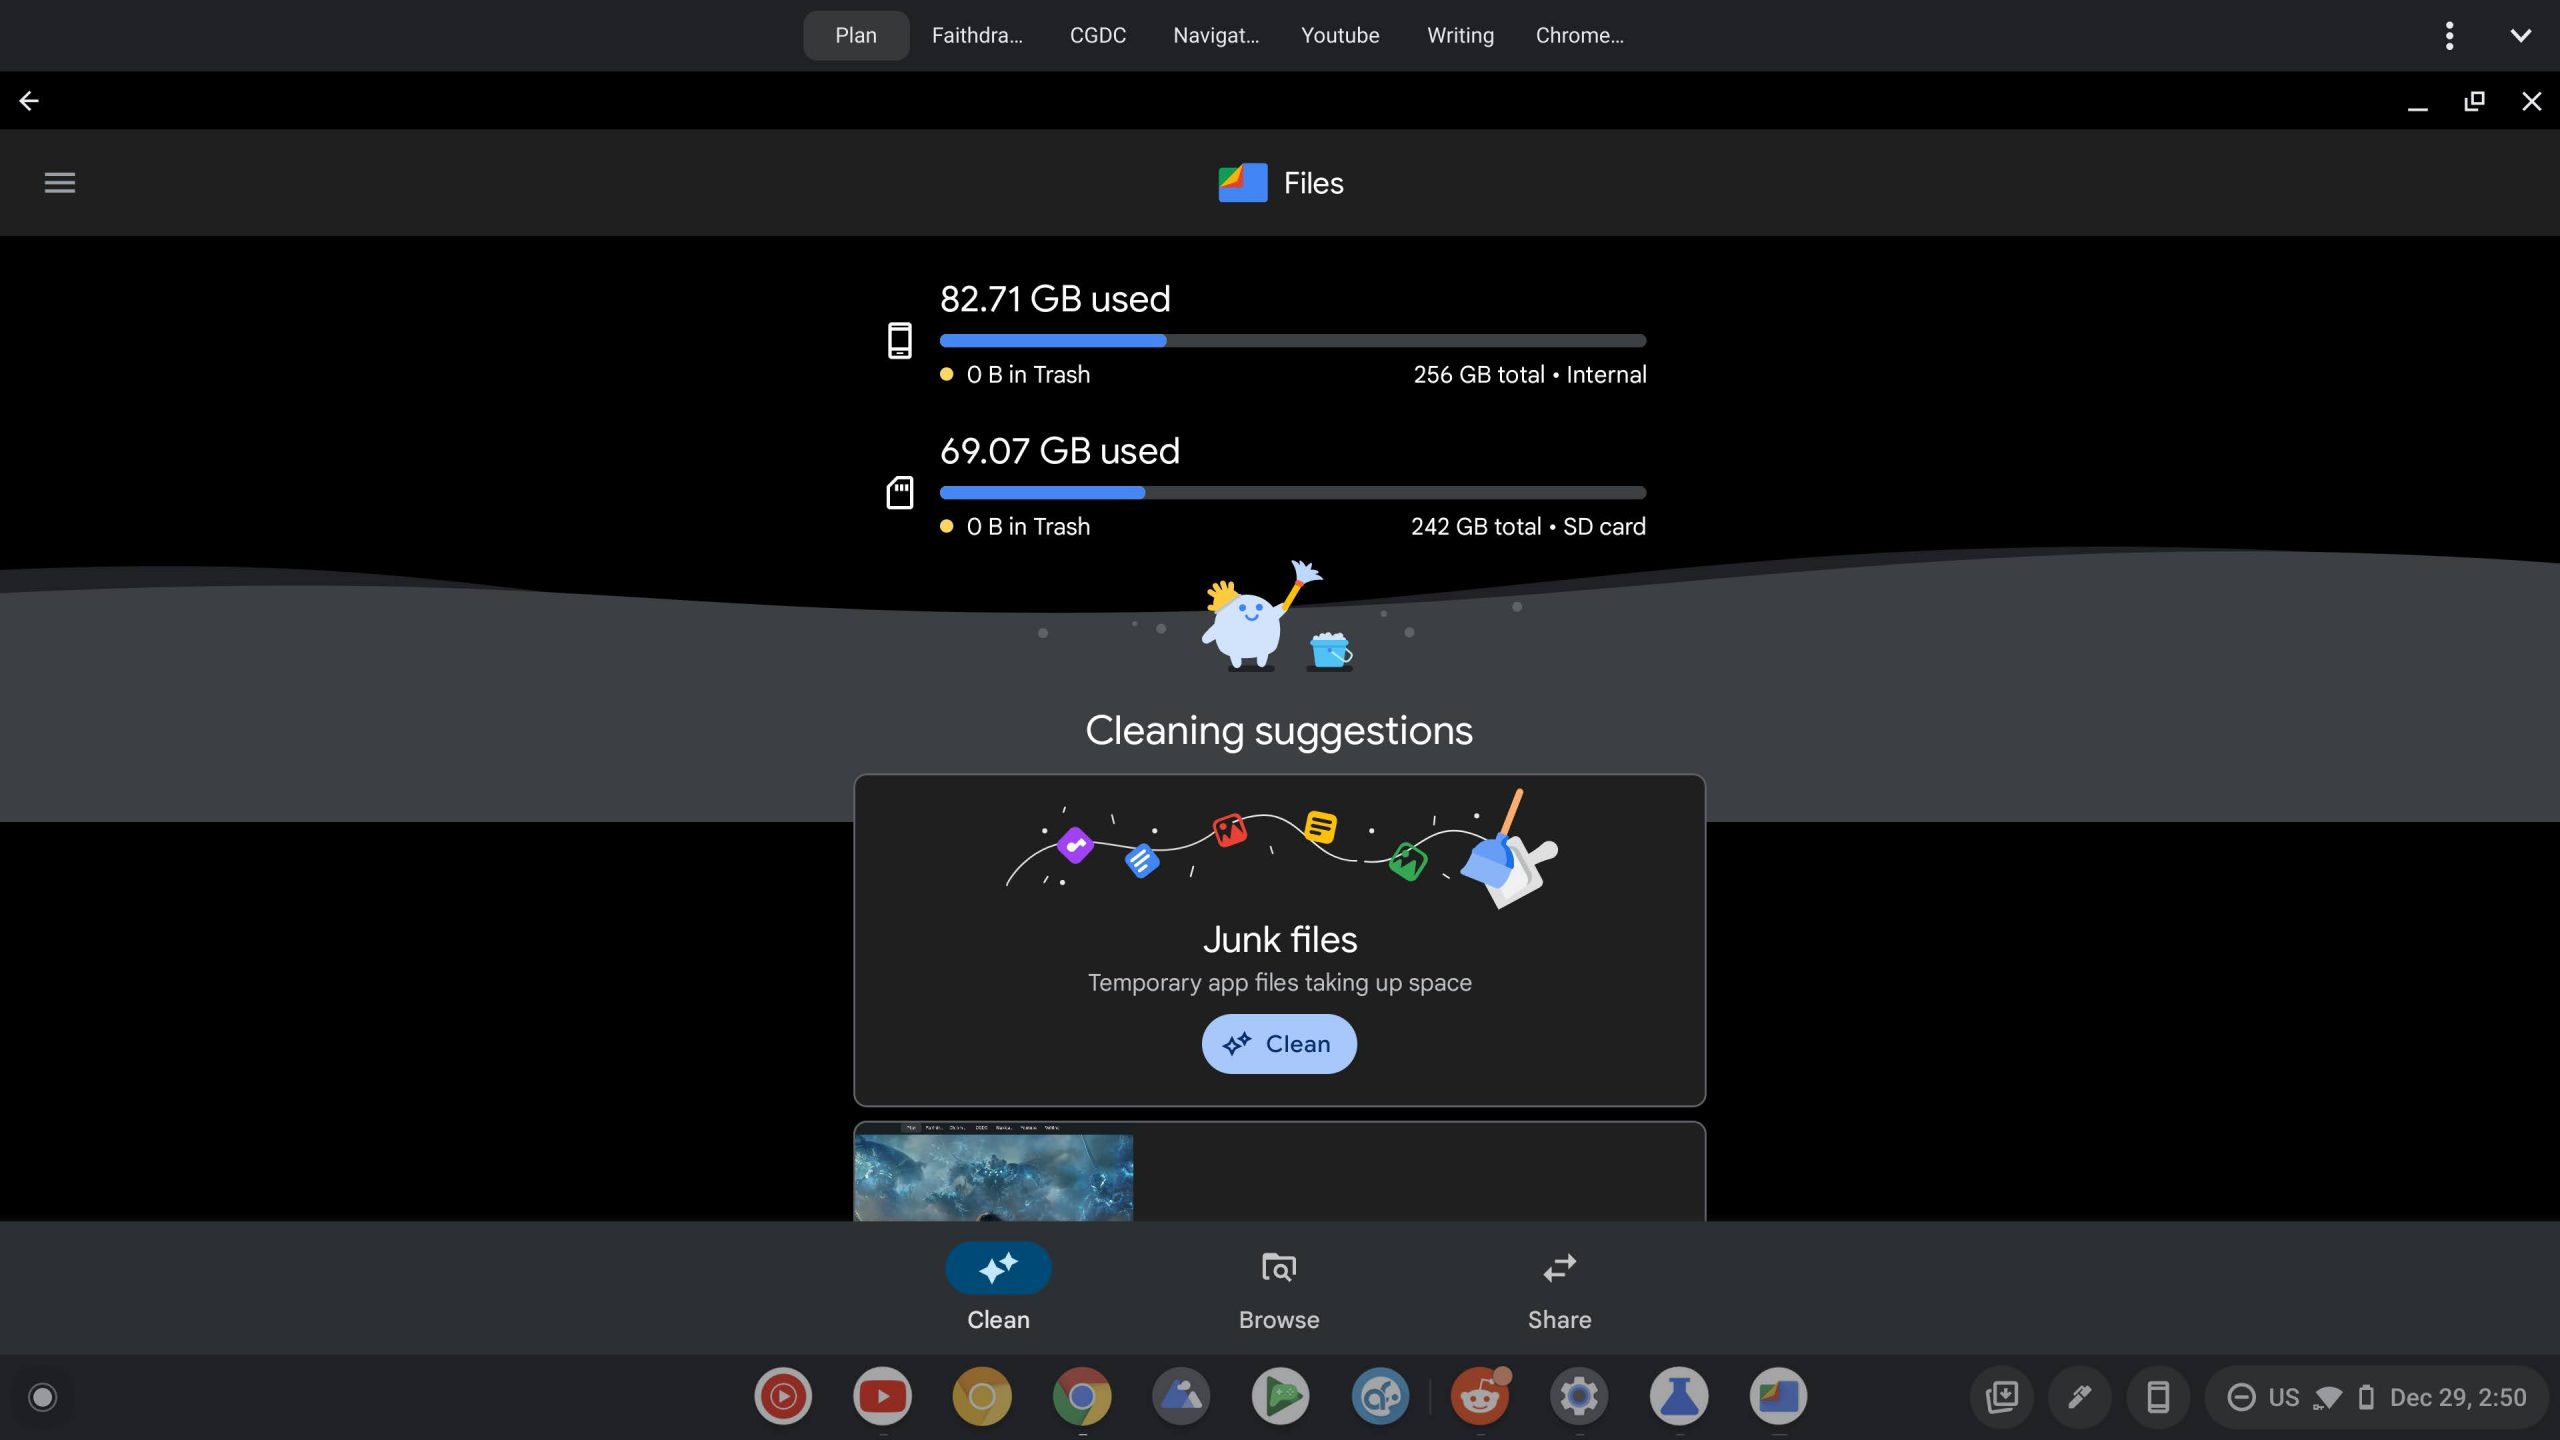
First, use the app badge below to download Files by Google. It’s a free tool that allows you to clean up your phone, but it’s also able to be installed on Chromebooks! You can review suggestions for clearing storage space that may be taken by large files, duplicates, or temporary storage that you may no longer need. This is fantastic for anyone who’s not comfortable going into a traditional file manager and deleting things that they may regret later.

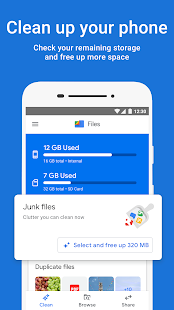
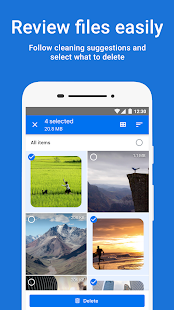
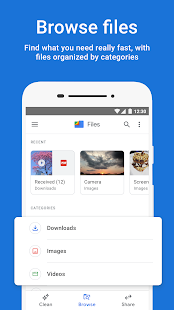
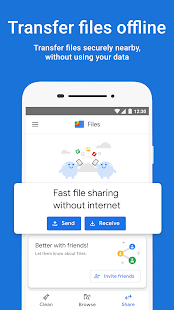
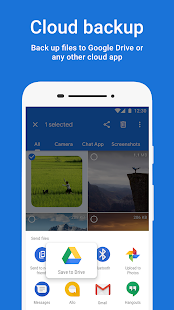
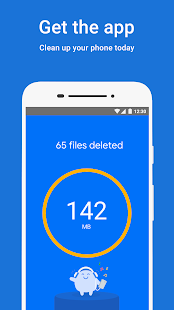
On the app’s homepage, you can simply tap each suggestion (see the screenshots above) and a cute little character will do all of the work on your behalf before jumping for joy that the process of helping you stress less is complete. Files by Google also features the company’s new Nearby Share feature for files, it works offline, and even lets you move files directly to Google Drive or another cloud app (whatever you have installed from the Play Store!)
You may be thinking to yourself – “Michael, that’s a bit excessive! I just want to delete a few files I have stored locally”. That’s fine too! You can use Files by Google, or you can just open the Chrome OS Files app (search for it using the “Everything button“) Believe it or not, a lot of people have plenty of items here to delete in order to free up space, and you may be surprised at how much you can reclaim just be removing old files you needed temporarily.
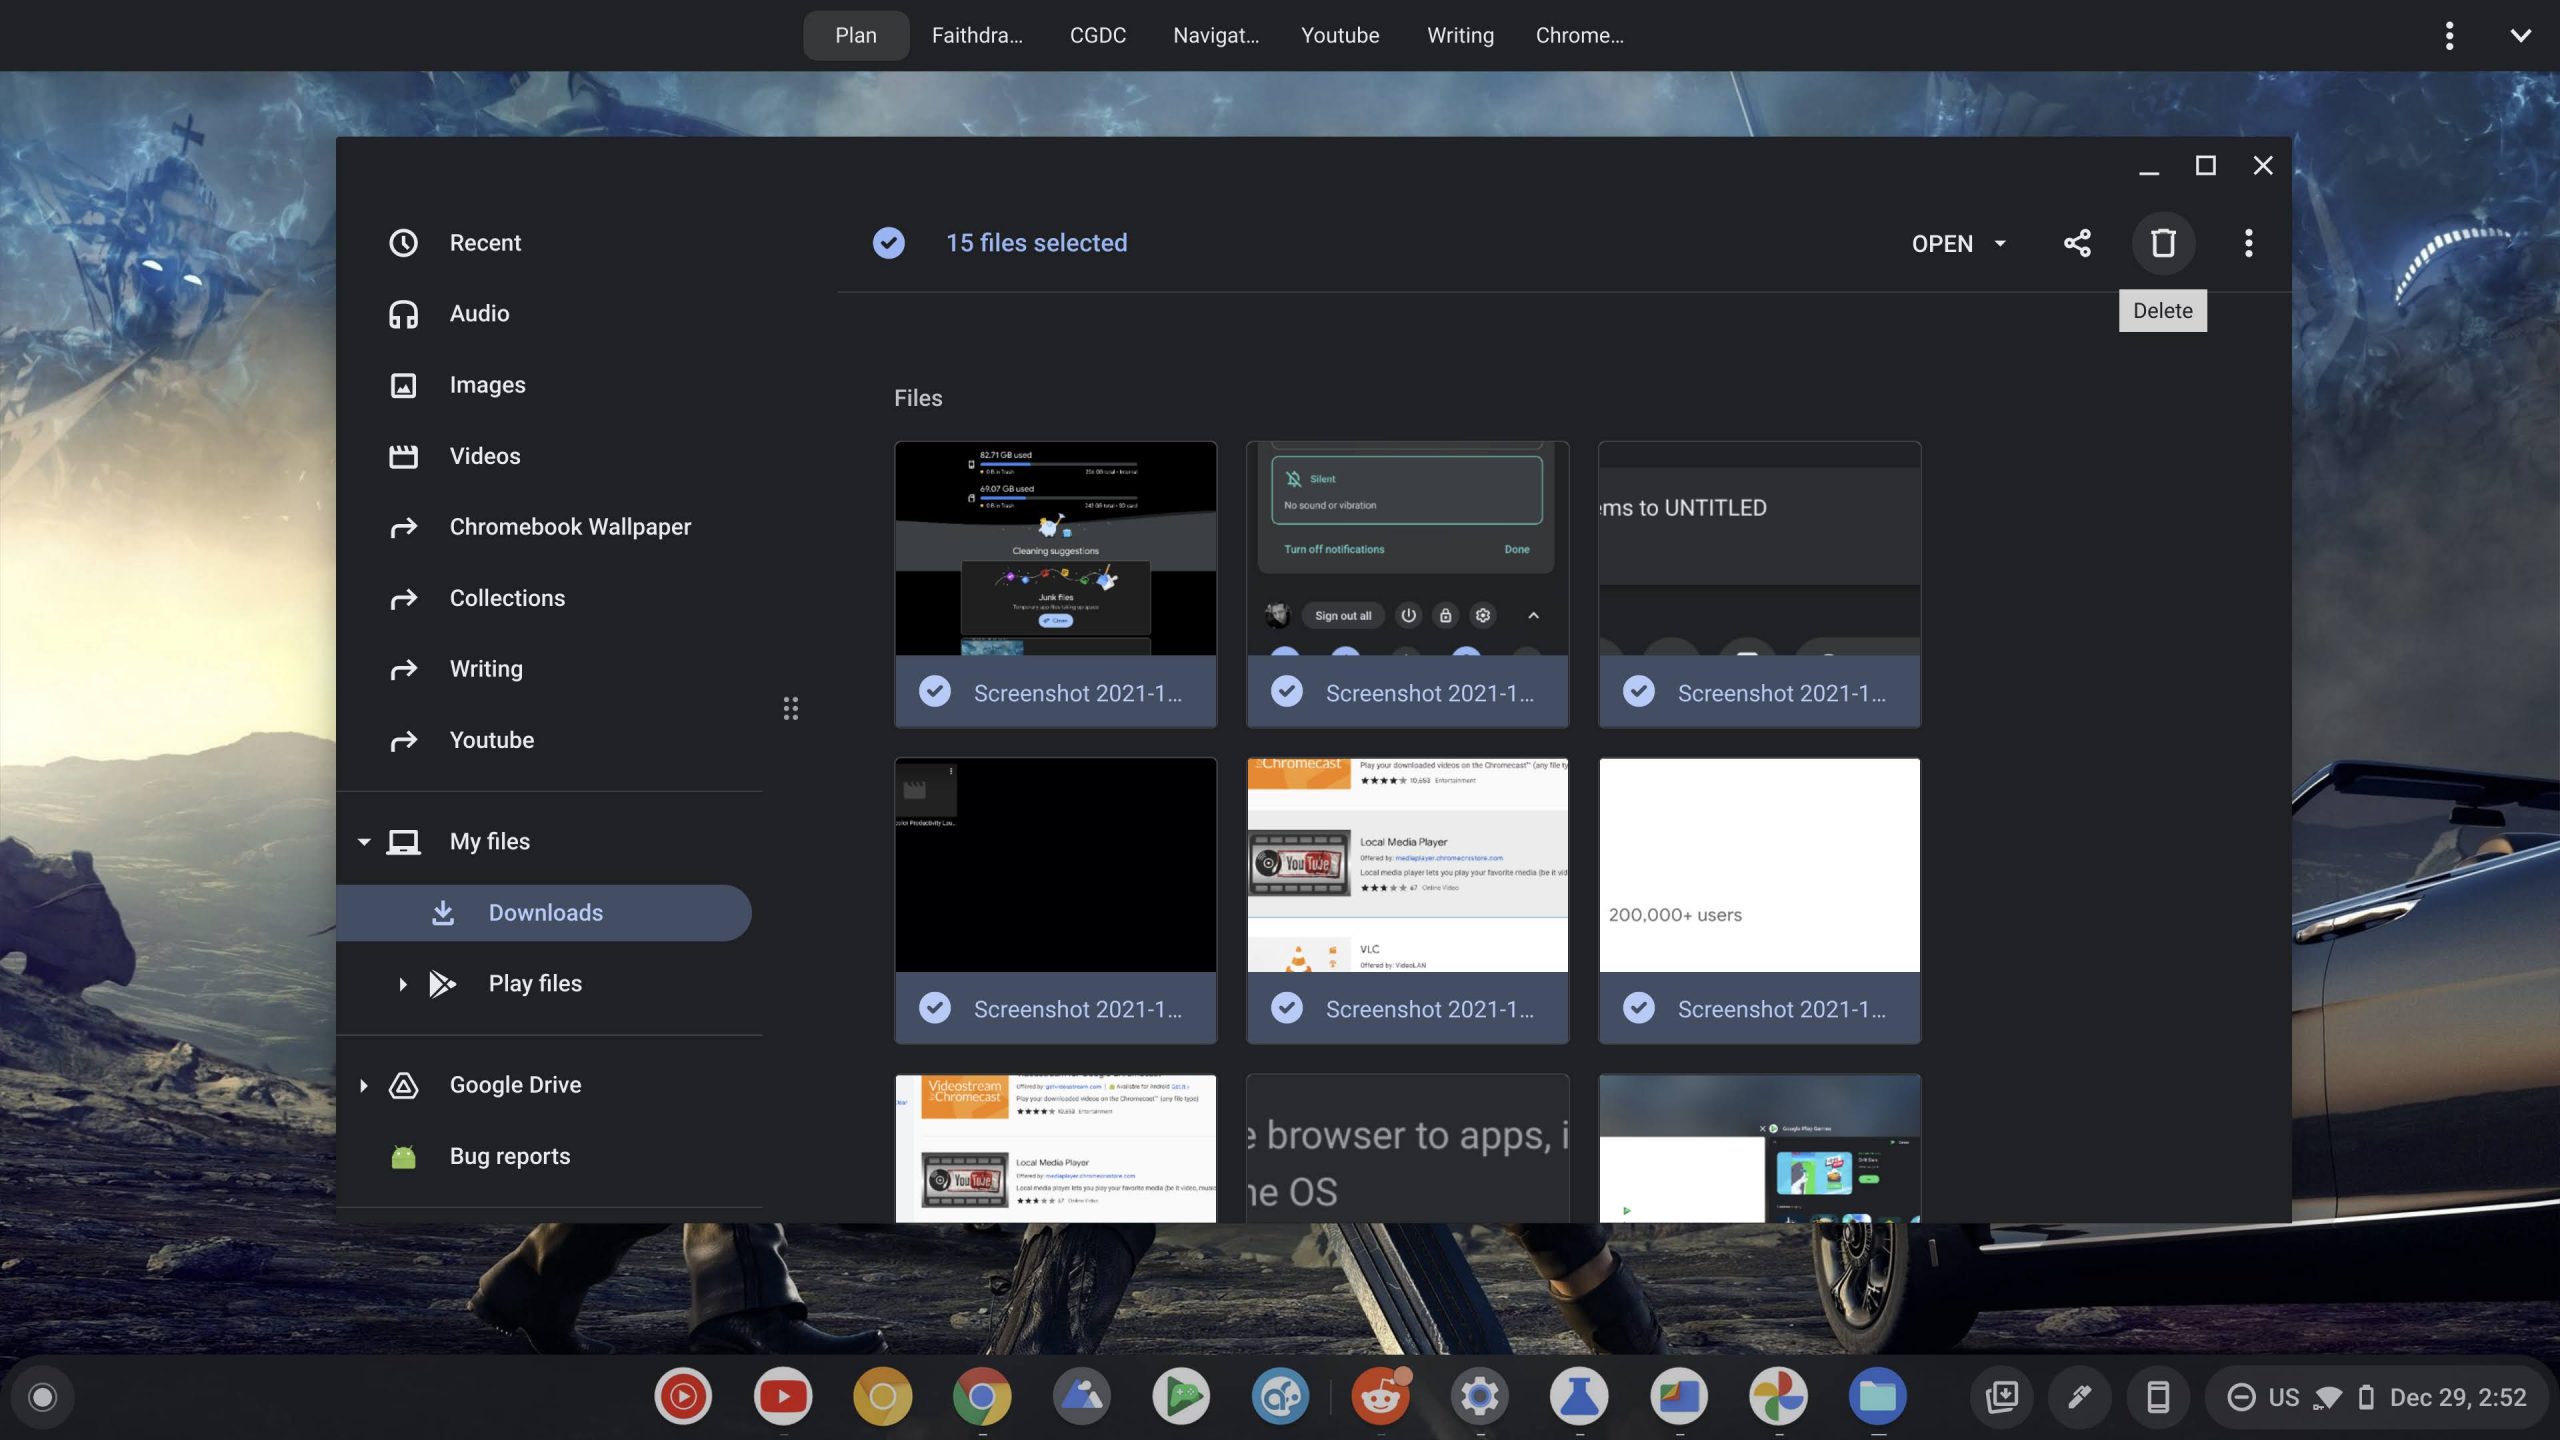
- Open the Chromebook “Files” app
- On the left side, navigate to “Downloads” These are your local files!
- Highlight or select any files you’d like to delete
- Click the trash can icon at the top-right of the window (You can also just right-click files and choose delete)
Pro Tip: You can see how much storage space you have once you’re done by tapping the tree dots “more” menu at the top-right of the Files app, and looking at the bottom of that context menu. You can also click that storage bar to be taken to the Settings app where you’ll see a more full breakdown of your space!
Pro Tip: Before you delete any files, you may want to enable the new Files App Trash Can flag by visiting Chrome://flags and searching for “Trash”. Enable the flag and restart your Chromebook to see the new trash can in the files app! This will make recovering deleted files possible in instances where you delete the wrong one on accident.
Clean up your extensions
Whether it’s a bad actor extension or you just have way too many that you’re no longer utilizing, cleaning out your Chrome Extensions page is always a great option for speeding up your device! Simply type chrome://extensions in your browser’s Omnibox or URL bar, and hit the enter key on your keyboard to get there. Alternatively, you can follow the steps below:
- Open the Chrome browser
- Click the vertical three dots “more” menu at the top-right of the screen
- Hover over “More tools” which is about two-thirds down the menu that appears
- Move your mouse over to “Extensions” and click it on the new dialogue box that appears as you hover using the previous step
- Locate any extensions you no longer need and click “Remove”
- At the top-right of the Chrome browser, confirm the extension’s removal using the dialogue box that pops up
Pro Tip: Try to avoid installing Chrome extensions that have anything to do with PDF conversion or email management, search, etc. Most malicious extensions I encountered while working as a Chromebook expert in Best Buy and setting up and troubleshooting thousands of Chromebooks took these forms! However, Chrome has many of these features built right in nowadays, and you can always use a web app like convert.io to change the format of your files.
Make use of Chrome’s new Tab Group features
One of my favorite features that’s helped me keep my Chromebook fast over the past few months has been Google Chrome’s new “Tab Groups” feature. Not only does it make managing your workflow much easier visually, but the “Tab Groups Collapse” feature automatically frees up RAM on your device when you click the tab group title. It collapses all of the tabs in that group so they no longer take up horizontal space on your browser bar, and you can always expand them again later. Additionally, you may want to take advantage of Chrome’s new “Tab Groups Save” feature so you can completely remove tab groups and restore them later!

- Right-click any tab in Chrome
- Hover over “Add to new tab group”
- Click “New group”
- Create a name for your new Tab Group
- Choose a color
- Click off of the dialogue box to save your changes
Sometimes, it’s just time for an upgrade
Last, but not least, I have to mention that I’ve seen some very, very outdated Chromebooks floating around in my time. Understandably, Chromebooks last a long time, and you want to make the most of the money you spent, and I love that mentality. However, if your device refuses to perk up after the suggestions above, it may just be time to upgrade. You can always begin with a standard Power Wash as a last resort, but as Chrome OS subtly creeps higher in its need for RAM and storage based on how users have evolved in their use of it, the old 2GB RAM and 16GB of storage are no longer viable for many.
There are some fantastic, new – and more importantly, inexpensive – Chromebooks on the market, especially this year, and whatever you buy this time around will likely last you nearly as long as your previous one did. You can’t keep using something that’s 10 years old and expect it to work like the day you bought it, because despite how incredible Chrome OS is, it’s ever-changing and growing!
Because everything on your old or current device is backed up in the cloud (Except for your Downloads or local files, but we have a tutorial for that!), you can switch to a brand new one without fear or much hassle at all. Simply sign in, and Google will do the rest! With that said, should you decide to go this route, you should check out our Best Chromebooks of 2021 roundup to see what your options are for a variety of use-cases and budgets!
Newsletter Signup

Leave a Reply
You must be logged in to post a comment.