

Zoom has undoubtedly become a household name thanks to the global pandemic, and with more and more individuals using the popular video conferencing software for work and even to connect with friends and family without meeting in person, we wanted to provide a simple, straightforward guide on how you can install, setup and use Zoom on your Chromebook, because believe it or not, it’s a little different than how you would go about doing so traditionally on Windows.
Follow the steps below, and you’ll be ready to “Zoom” with anyone for home life or for business in no time. We recognize that many people are using the software despite the fact that its competitor – Google Meet – is also killing it in this space, so we didn’t want to leave all of the leave those of us who either use it by choice or by force out in the cold.
Install Zoom
Method 1: via the Google Play Store
First, you’ll need to install Zoom through the Google Play Store. Simply click the app link below to be taken there and click the green “Install” button. We’re providing you with the “PWA” version of the app since it’s a progressive web application that’s optimized for Chromebooks instead of the traditional Android app version.

Method 2: via Google Chrome
Alternatively, if you have the Google Play Store disabled on your device, which many people choose to do, you can just install the website as an icon. To do this, simply visit pwa.zoom.us via the Chrome browser, click the “install prompt” found at the top-right of the web page, and click “Install” to turn Zoom’s website into a standalone web application with an icon on your Chromebook’s bottom shelf.

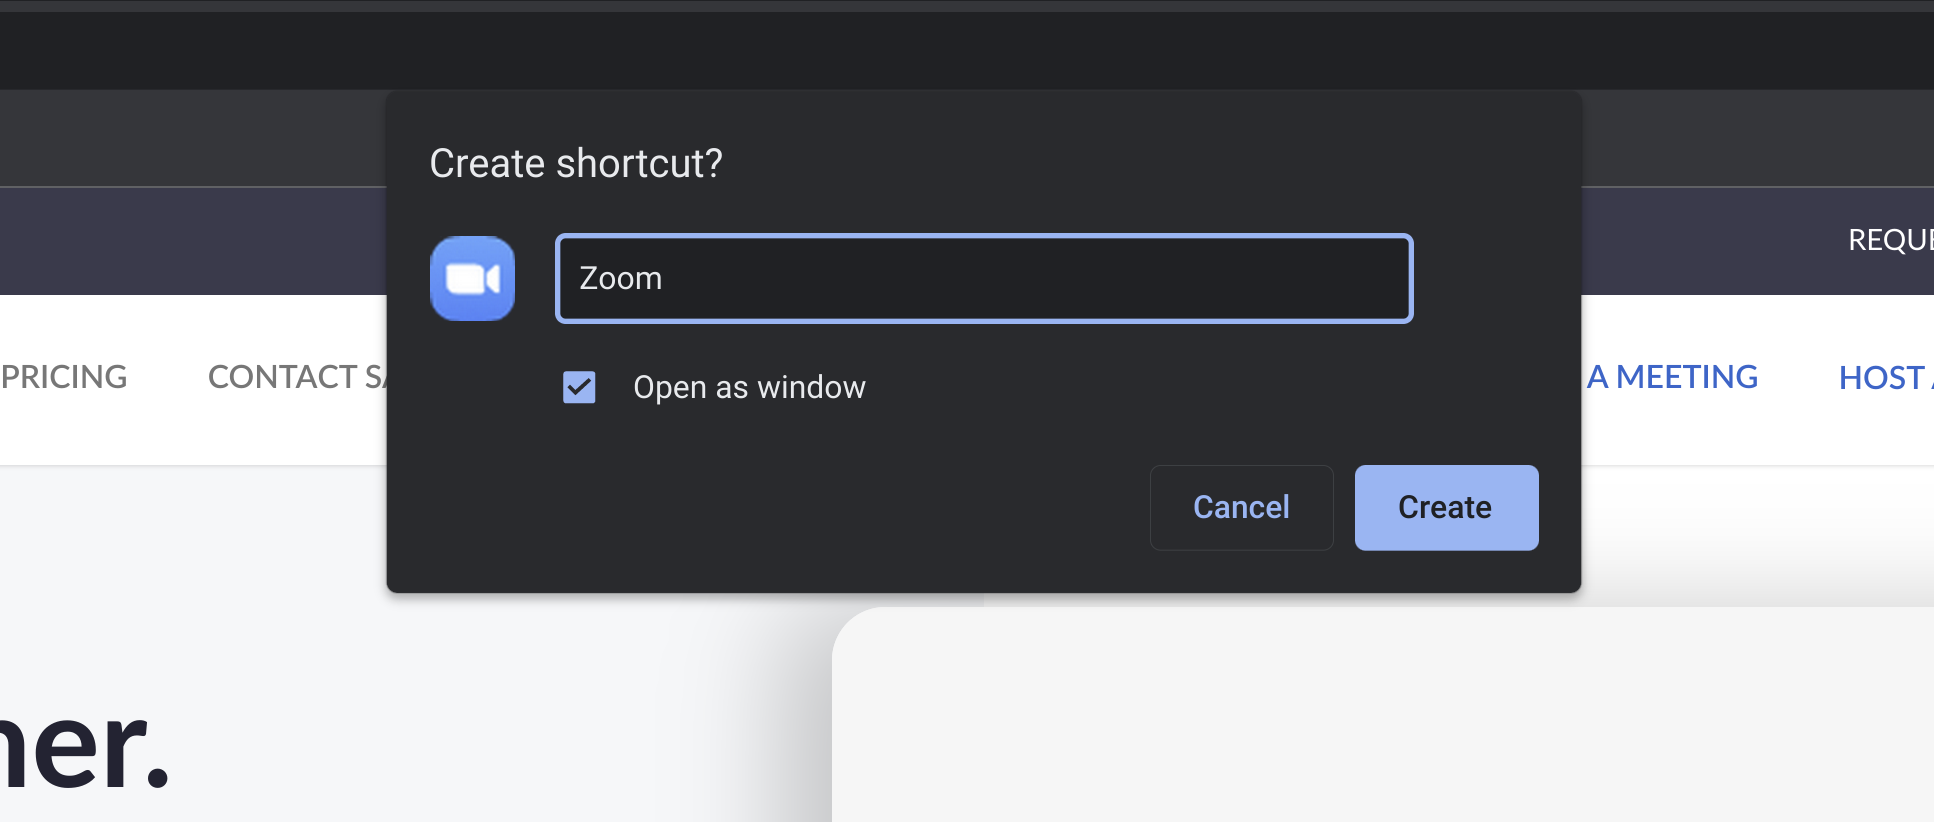
“Creating a shortcut”
For some, this button will not appear yet, so just click the three vertical dots at the top-right of the browser, go down and hover over “More tools”, which is about 2/3 down the dialogue box, and then choose “Create shortcut…” from the new menu that appears to the left of it.
From there, you’ll see a new dialogue box appear at the top-middle of your Chromebook screen. Simply check the box that says “Open as window” and click the blue “Create” button. If you’d like to rename your brand new web app, just delete the text in the box before clicking create and type in the word “Zoom” instead.
That’s it! Regardless of which method you followed, you will now see a Zoom icon on your Chromebook’s shelf or in your app launcher. You can access your device’s “app launcher” by tapping the Search key – the magnifying glass – known as the ‘Everything button‘ on your keyboard. It’s located where Caps Lock would be on any other laptop. Generally, newly installed apps appear on the last page of your launcher, but you can simply type in “Zoom” to find it faster.
Sign up or Log in to Zoom
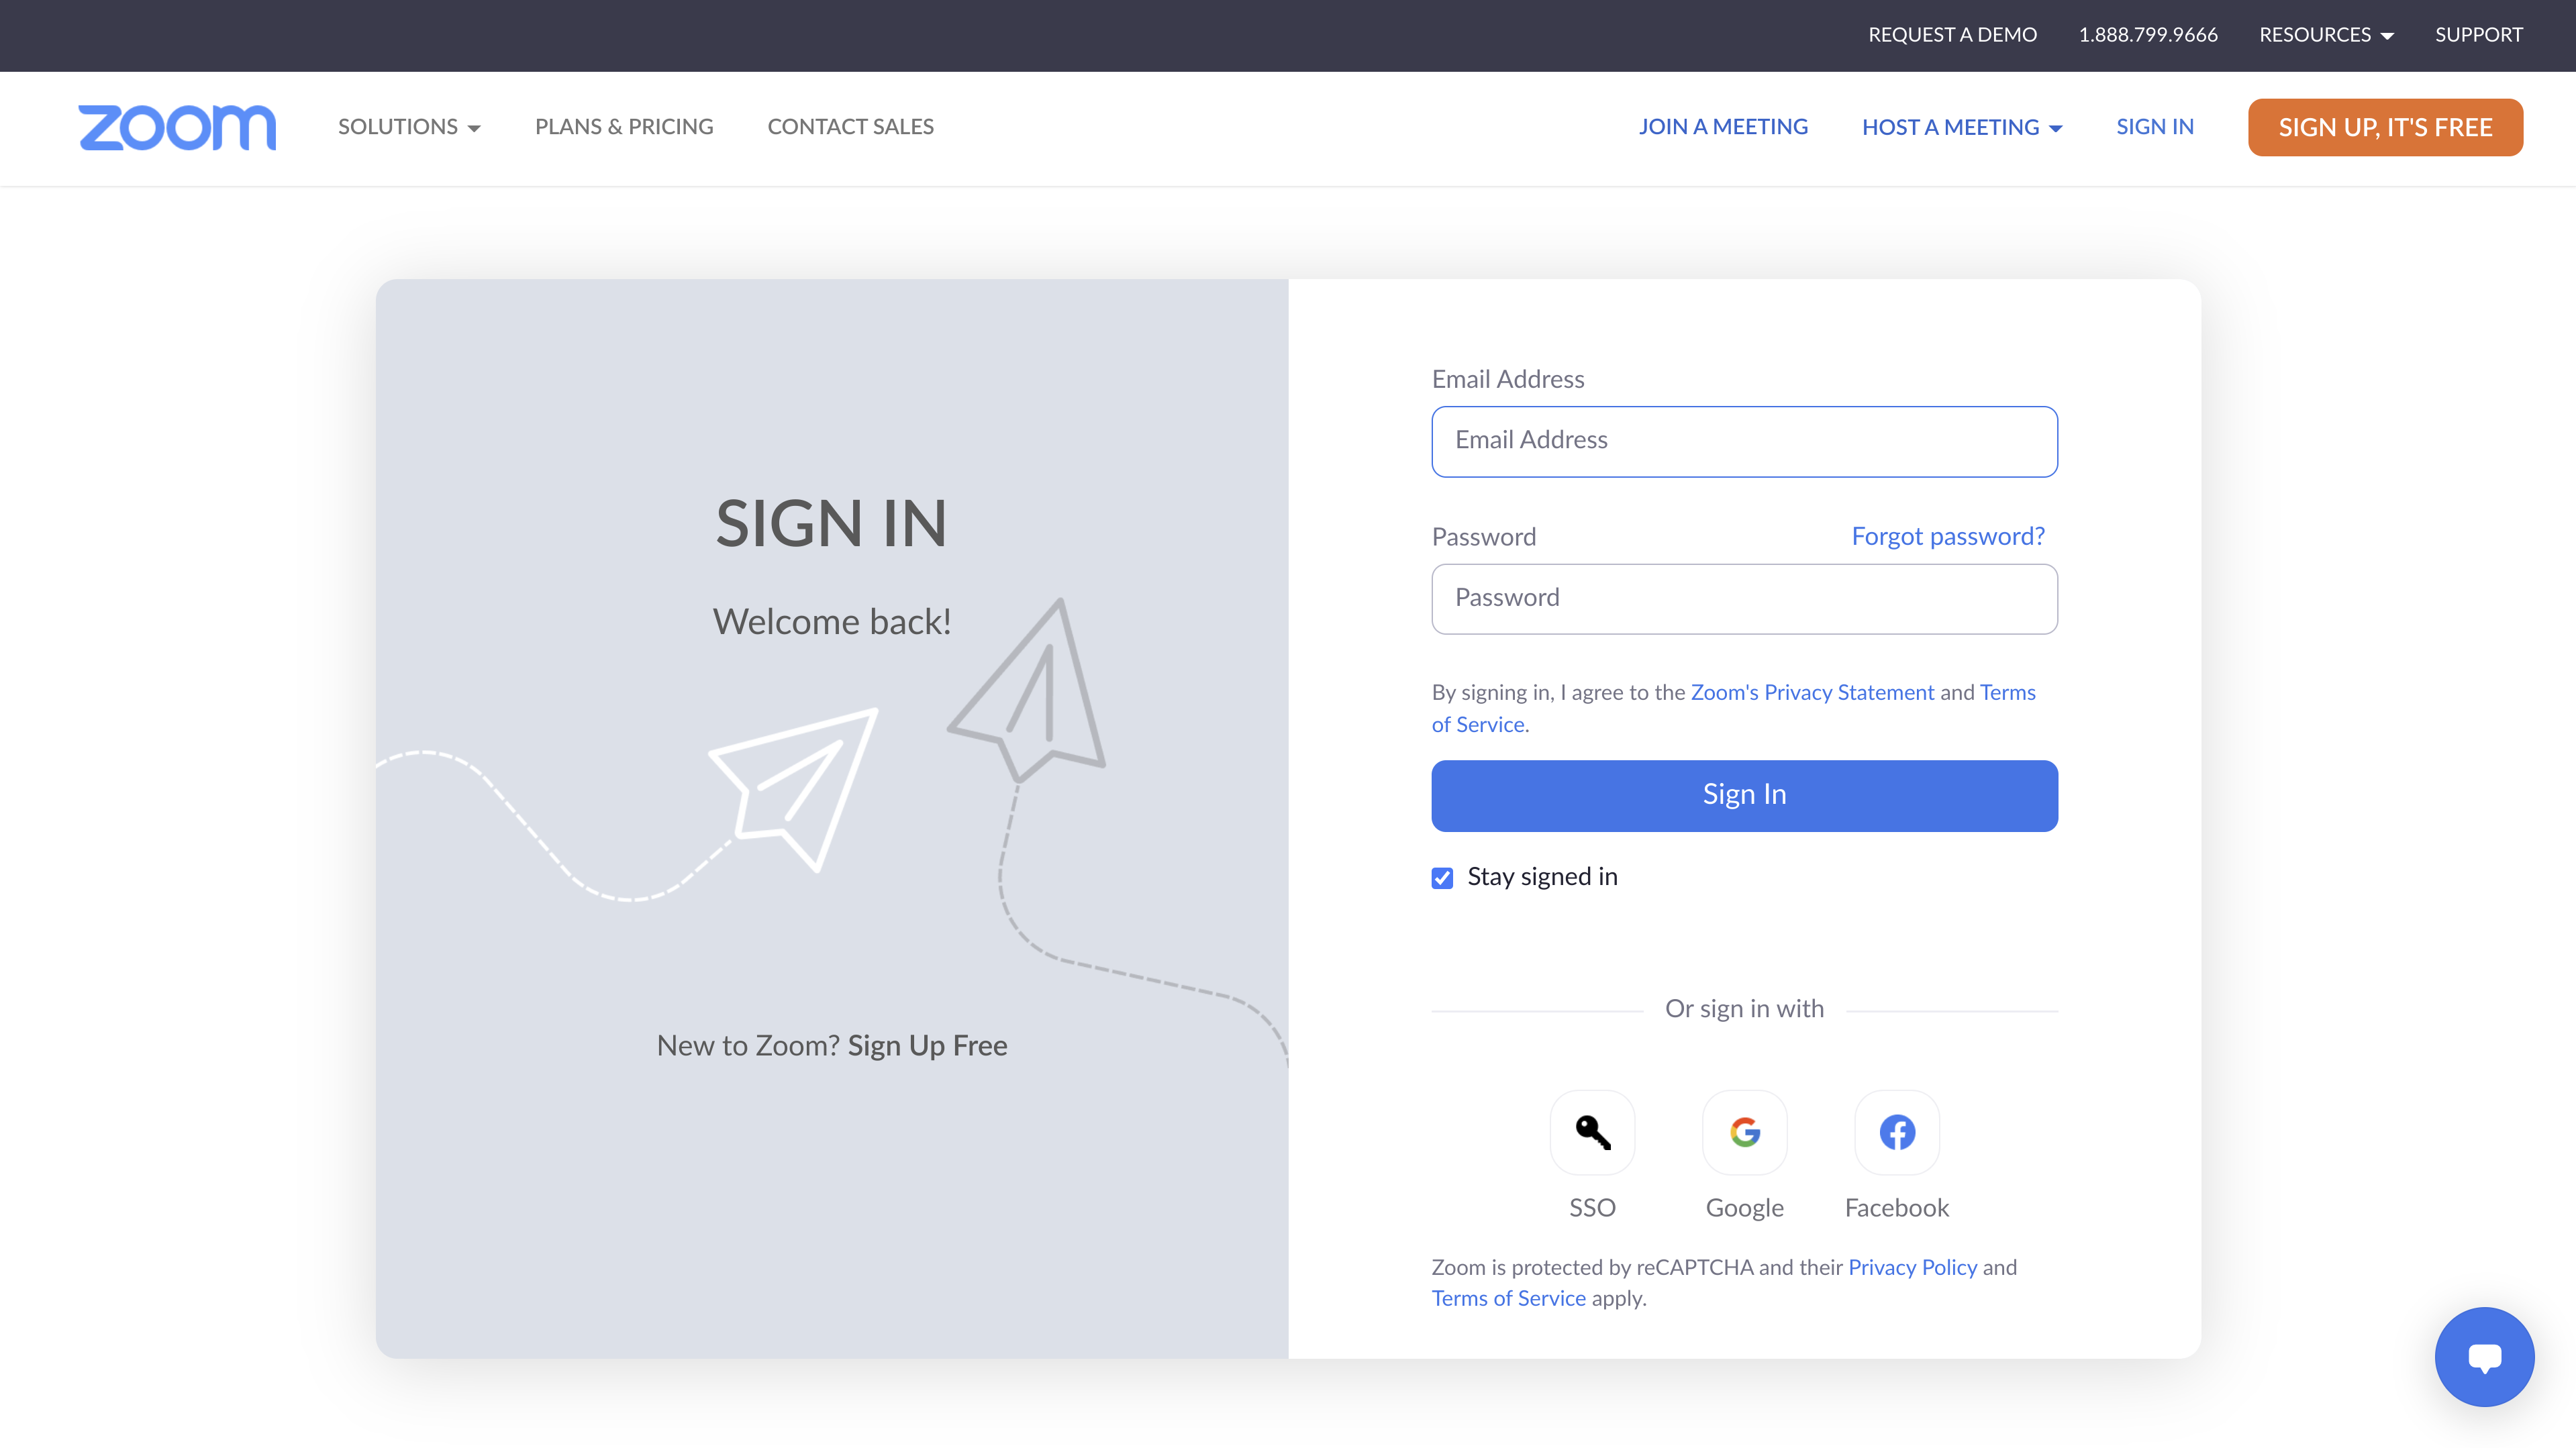
- Now that you have Zoom up and running, you’ll need to create an account or sign in to begin using it. At the top-right of the Zoom website, click the orange “Sign up, it’s free” button. If you’re using the Zoom PWA already, just click “Sign Up Free”, which can be found on the left side of the page in the grey box as seen below.
- Enter your date of birth using the day, month, and year drop down boxes that appear on the next page.
- Enter the email address you wish to sign up with. Alternatively, you can choose to sign up using your Google account, SSO or facebook login. Since you’re on a Chromebook which requires you to use your Google account anyway, you may find it simpler to keep track of logins by continuing with this method.
4. The next screen will say “Welcome to Zoom”, and ask you to complete your account creation. Just click the blue button that says “Create Account”. Once you’ve completed this step, you’re done! You’ll be taken to your Zoom dashboard so you can host, schedule, or join a meeting.
For Educators: Check the box on the page before clicking “Create Account” if you are signing up on behalf of a school or other organization that provides educational services to children under the age of 18
3. Launch a Zoom Meeting
Great! Now you’re ready to join a meeting. You can use the big, beautiful buttons in the center of the app to either start your own meeting or to join someone else’s meeting. If you click the orange “New Meeting” button, you’ll immediately be launched into a fresh call where you are the host, and you can invite others in after connecting your own audio and video.
Clicking the blue and “Join” button instead will bring you to a “Join Meeting” screen. Here, you’ll input the Meeting ID or personal link name of the individual you’re trying to connect with. Generally, people make this their phone number, but not always, especially for security reasons. Type in their Meeting Id and click the “Join” button to hop into a Zoom call with them!

Most people create a Calendar event if they’re using Zoom for business, and in that event, they’ll include a Zoom Meeting ID or link, and even the password if they’ve protected the room. 90% of the time, you’ll simply visit your Calendar, click the event, and open the link to be redirected to Zoom. Because you’ve already pre-installed it on your Chromebook, Zoom itself will prompt you to open the call in the app, so ultimately, just having it on hand for when you click Zoom links is the goal.

We hope that this guide was helpful! If you’re confused about anything or think that we should include different screenshots to show off another aspect of the process to increase its clarity, please let us know in the comments below. Zoom is a fantastic tool to have, and you’re now all set to use it to get social again. Have fun!
Newsletter Signup

Leave a Reply
You must be logged in to post a comment.